Create Channels in Channel Groups

Introduction

In this guide, you will learn how to group channels into channel groups. As you create more channels, one of the biggest benefits of using channel groups is the ability to organize channels into more focused categories and topics. For example, you can create a channel group such as Events and Activities that only contain channels related to that topic, and also channel groups that target a specific audience.

Prerequisites

Before you begin, ensure that you have the following ready:

  • You will need an active Appspace cloud account.
  • You will need to have a few channels with content.
  • You will need Publisher permissions to be able to publish channels.

Create a channel group

At this stage, you should already be familiar with creating channels and should have a few channels that are ready to be grouped. By following the next few steps, you can start organizing those channels into groups.

Navigate to the Channels workflow

In the Appspace Console, navigate to the Channels workflow from the main menu.

1

Create a channel group

  • Click on the Channel Groups tab in the workflow.
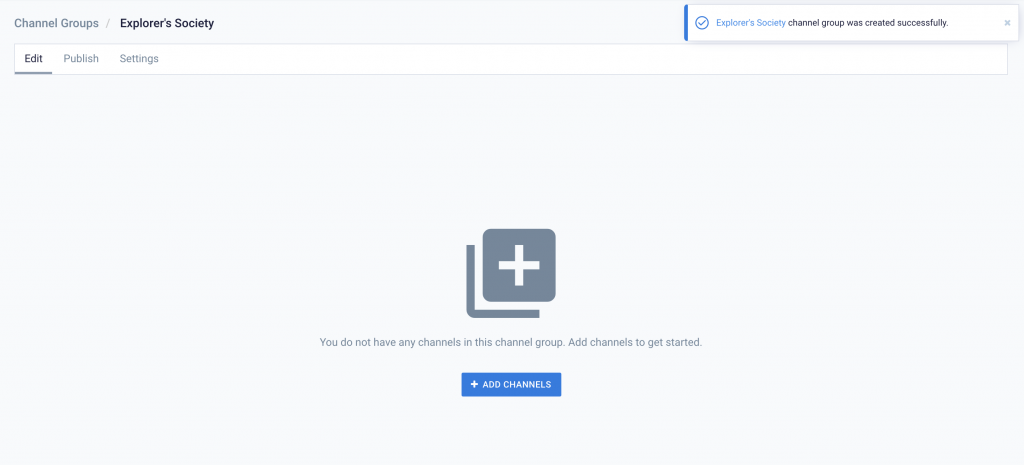
  • Click on the Create button and give a name to your channel group.
  • Now that your channel group is newly created, click on the Add Channels button to start adding channels to it.
2

Start adding channels

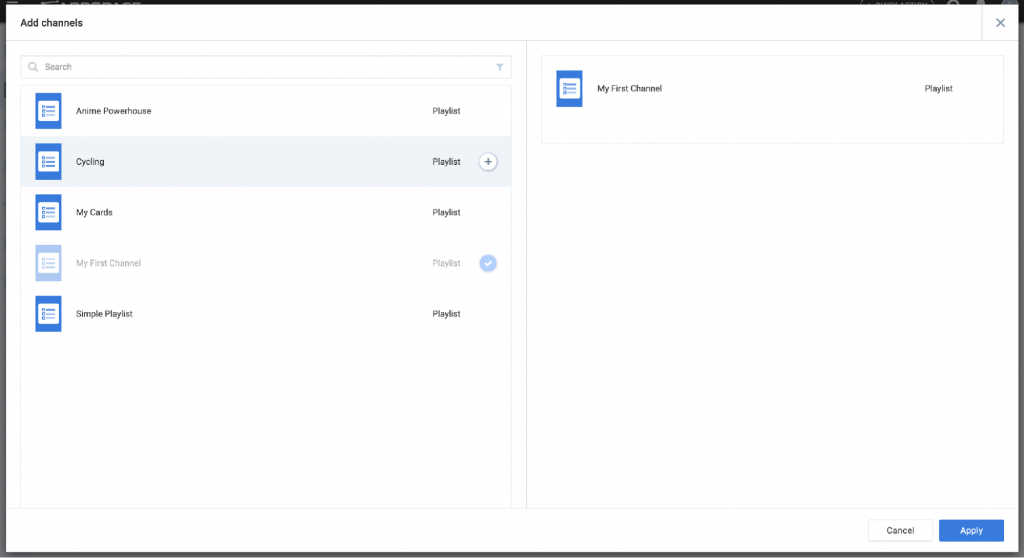
Now that you are ready to add channels, you will now see a window showing all your channels on the left, and the channels in the channel group on the right.

  • To add a channel to your channel group, simply click on the desired channel and it will appear on the right.
  • To remove a channel from the channel group, click on the Remove (x) button on that specific channel.

Click on the Apply button once you are done.

3

To the next part

With channels added to the channel group, the next part is to publish the channel group so that it becomes available.

Publish a channel group

Once a channel group has been created with channels inside, it will need to be published in order for it to appear on devices.

Navigate to the Channels workflow

In the Appspace Console, navigate to the Channels workflow from the main menu.

1

Select the desired channel group

Click on the Channel Groups tab in the workflow and selected the desired channel group.

2

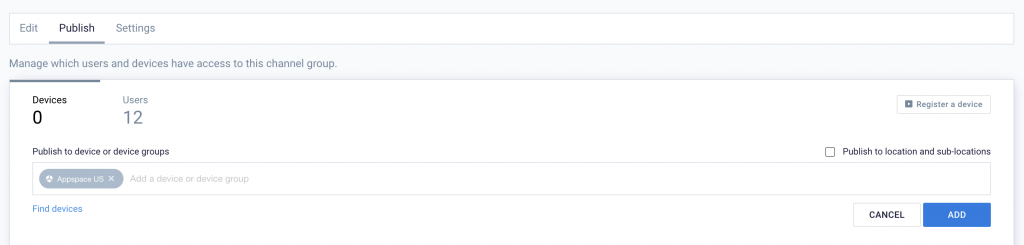
Publish the channel group

Go to the Publish tab of the channel group and enter the name of your device into the input field. Click on the Add button to publish.

3

Complete

At this stage, you have successfully published your channel group and it will appear on the targeted device at the next update interval. The channel group will appear in alphanumeric order in the home screen of the Appspace App, along with the channels that are grouped inside.

4

Congratulations!

You have successfully organized channels into a group for publishing.

As the number of channels continue to grow, you can group them into relevant channel groups and have them all be available in the Appspace App for browsing.

What's Next?

Deepen your knowledge of cards and channels by taking a look at more authoring paths and guides.