Create Cards for Announcements and News

Introduction

In this guided path, you will learn how to create cards for news and announcements. Appspace has a selection of Announcement card templates that makes it easy for you to craft visual messaging for news and announcements that will look great onscreen.

Announcement card highlights include:

  • Show images or videos in the feature media playlist.
  • Support for playout duration and transitions for images.
  • Motion tracking effects for feature media, and formatting options for aspect ratio, borders and margins.
  • Text and feature media elements are animated into the layout during every channel transition.
  • Layout control and formatting options, including the ability to position and resize a custom logo.

Prerequisites

Before you begin, ensure that you have the following prerequisites met:

  • You will need Author permissions as a minimum for a channel.
    • Author permissions gives you the ability to create content for a channel. 
    • Author permissions are granted by a Publisher of that channel.

Create your Announcement card layout

You can choose from a number of Announcement card templates to craft your news headline or announcement.

To create an Announcement card, simply follow the steps below.

Create a card

Click on Create Card from the Quick Action menu to begin.

1

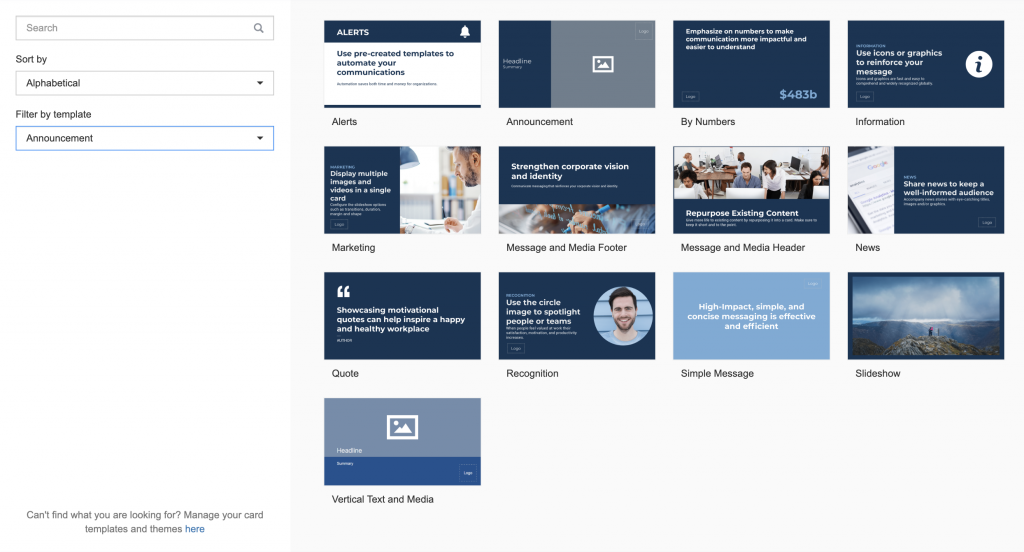
Select an Announcement card template

To specifically view only Announcement card templates, select Announcement from the Filter by template dropdown at the left. Pick one of the announcement card templates that you’d like to use.

2

Add your messaging into the text blocks

An Announcement card will have topic, headline and summary text blocks. Fill these with your own messaging with the option to apply text styling with the text formatting toolbar. Keep your messaging brief and to the point so that audiences are able to grasp your message in ideally less than 15 seconds.

3

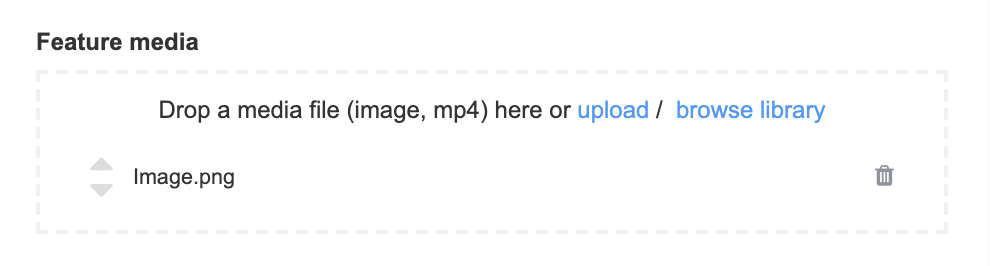
Add your feature media

If you have images or a video that you’d like to showcase in your announcement, you can add that to the feature media block. Simply drag and drop media files into the feature media drop zone, or choose content items from your library.

4

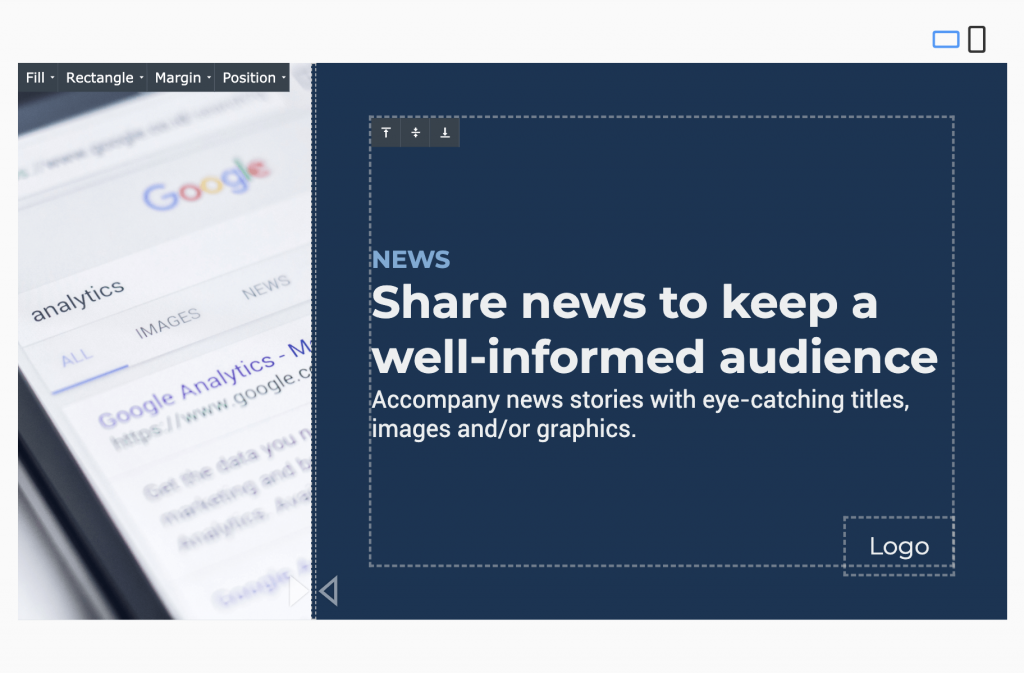
Format your feature media and text block

You can further apply formatting to the feature media block to fit a particular style. Formatting options include the following:

  • Aspect ratio
  • Border shape
  • Margin
  • Position
  • Duration (for images)
  • Transition (for images)
  • Width adjustment between text and feature media

You can also change the alignment of the text block to top, middle and bottom or left, middle, right depending on orientation.

You can also swap the position of your text block and feature media by clicking on the layout separator arrows.

5

Add a logo and customize your background

You also have the choice of adding your logo and background media. Simply drag and drop your logo or background media file to the Logo and Background Color or Media drop zones.

Once you have placed your logo, you can freely reposition it anywhere in the card layout.

If you do not have a logo, you can just leave it blank.

6

Confirm your card layout

Once you have confirmed the look and feel of your card layout, click on Next to proceed to the next part.

7

To the next part

Now that you have created the card layout that can be displayed on TV screens and tablets, the next step is to provide the value-added long format articles that can be read on mobile devices.

Provide your card title and article

With your card layout created, you will then need to enter a title for your card, with the option to add an article.

Entering a card title is the only mandatory step. Others are optional, but add value.

Provide a card title

In the Title field at the top, enter a title to describe your new card.

1

Provide an article (optional)

If you have created a news headline or announcement, but would like to provide more details in a longer format article, you can write or copy+paste your article text into the Article block. When viewing the card on mobile devices, users will have the option to read the accompanying article. The standard text formatting options are available should you choose to use them.

2

Save your card

To complete the creation of your new card, click on the Save button and your card will appear in the chosen folder of your library.

3

Congratulations!

You have successfully created your Announcement card.

You can repeat the steps in this guided path to create more cards. As a shortcut, there is also a checkbox option at the bottom to Create another that makes it faster for you to create a series of cards.

What's Next?

Deepen your knowledge of cards and channels by taking a look at more authoring paths and guides