Select the channel that you want to add content to
Select a channel that you have access to and click on the Add button to start adding content into the playlist.
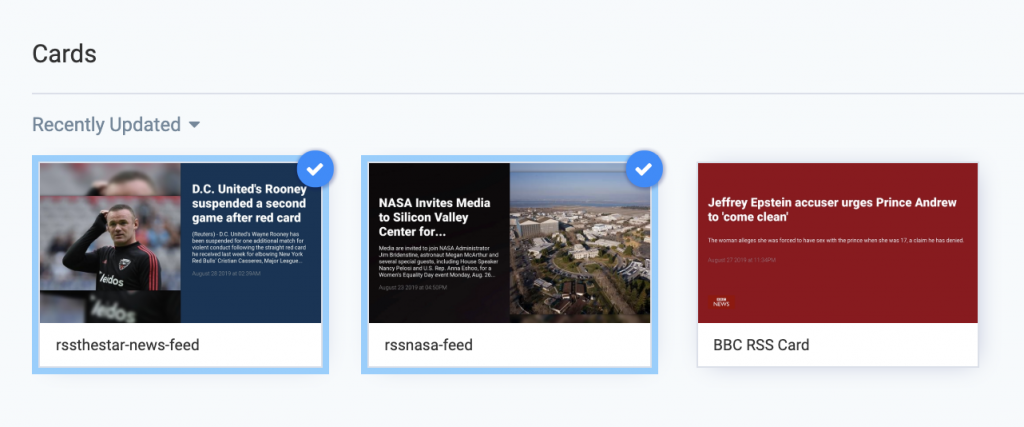
Select cards from your library to add
Select a folder from your library containing the cards that you want to add. Click on the cards that you want to select and you will see them highlighted with a blue check.
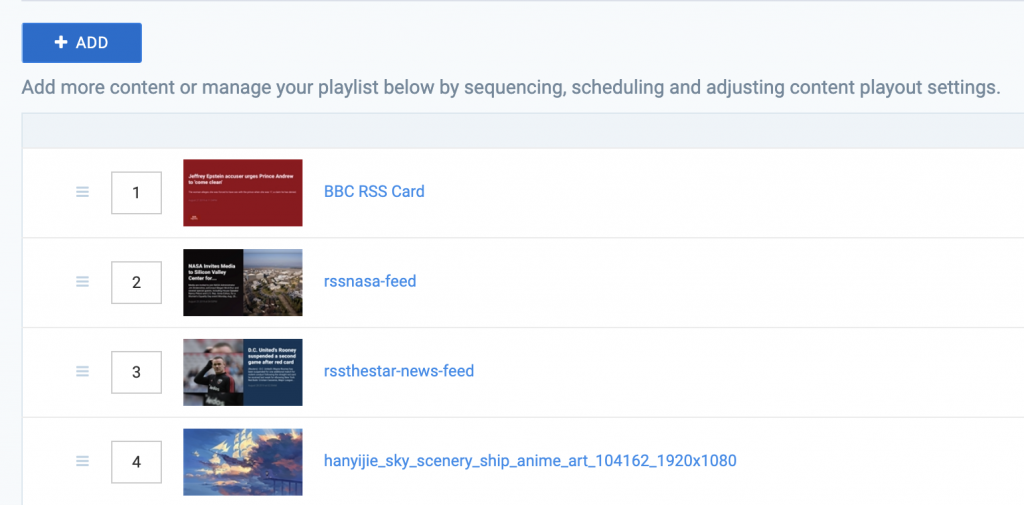
Add cards to the playlist
Click on the Add button at the bottom to add the selected cards into your playlist channel. Your playlist channel will be automatically updated with your newly added cards. You can repeat the above steps to add more cards to the channel.
Select the channel that you want to add content to
Select a channel that you have access to and click on the Add button to start adding content into the playlist.
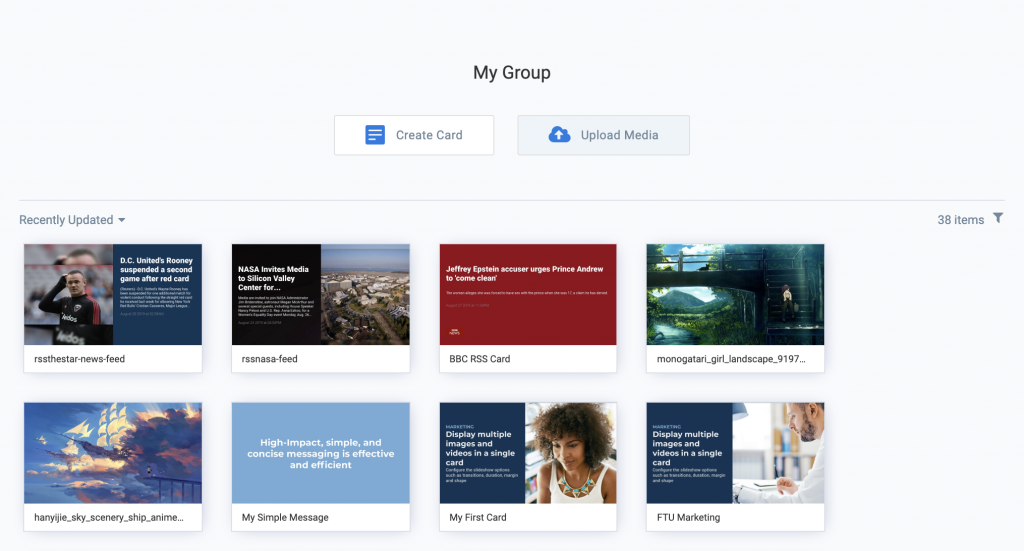
Upload media to your channel
By default, your group library will be automatically selected. You can select a folder if you prefer your content to be stored in a specific place when uploaded. Click on the Upload Media button to start the uploading process.
Drag and drop to upload
You will be presented with the upload window. Simply drag and drop files from your computer folder or desktop into the upload window to upload the files automatically. Alternatively, you can also click on the select files link. Each content item will have a progress bar indicator to show how much has been uploaded.
Complete the upload and save
Once content items have been successfully uploaded, their progress bars will be highlighted in green. Once all content items have been uploaded, click on the Save button to add the newly uploaded content items into your playlist channel.
Was this article helpful?