This article provides instructions to create content or upload media in the Library, in Appspace 8.1. With the newly redesigned Library module, improved operations and functionality provide the opportunity to create content from the following entry points, all with the same content creation workflow:
- Quick Action button in the Appspace console
- In the content Library module
- Directly in a channel in the Channel module
Note
Find out more about the Library in the Browse and Navigate Library in Appspace 8.0 article.
Prerequisite
- Account Owner, Publisher, Editor, or Content Producer (Author) role to add or edit content in Library.
Create Content
Follow the instructions below to create content:
- Log in to the Appspace console.
- To create content, select one of the following options:
- Click the +QUICK ACTION button from the Appspace menu bar on the top right, and select Create Card.
- Select the Library module from the ☰ Appspace menu, and select a library or folder you wish to create the content in. Click +CREATE, and select Card.
- To add content to an existing channel refer to Add Content to Playlist Channels.
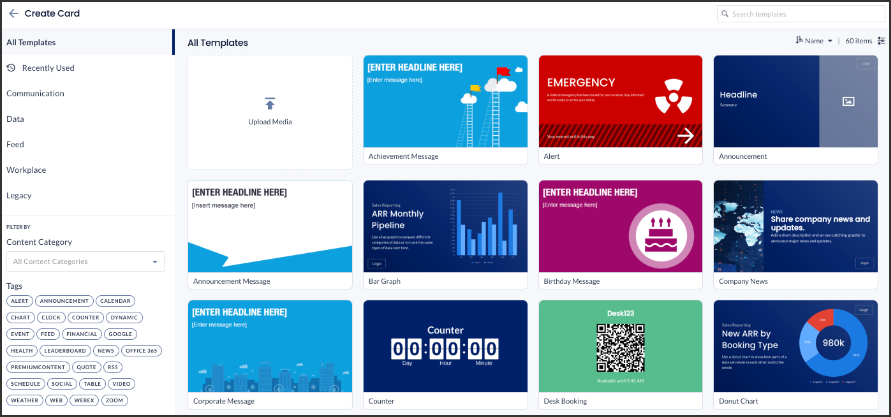
- Select a card template available. If you’d like to upload images or videos, please click the Upload Media button and refer to the Upload Media section below.

- ImportantIf you are unable to locate the content, try using either the Search bar, the Order by, or Filter icon to narrow down the content that you are looking for.
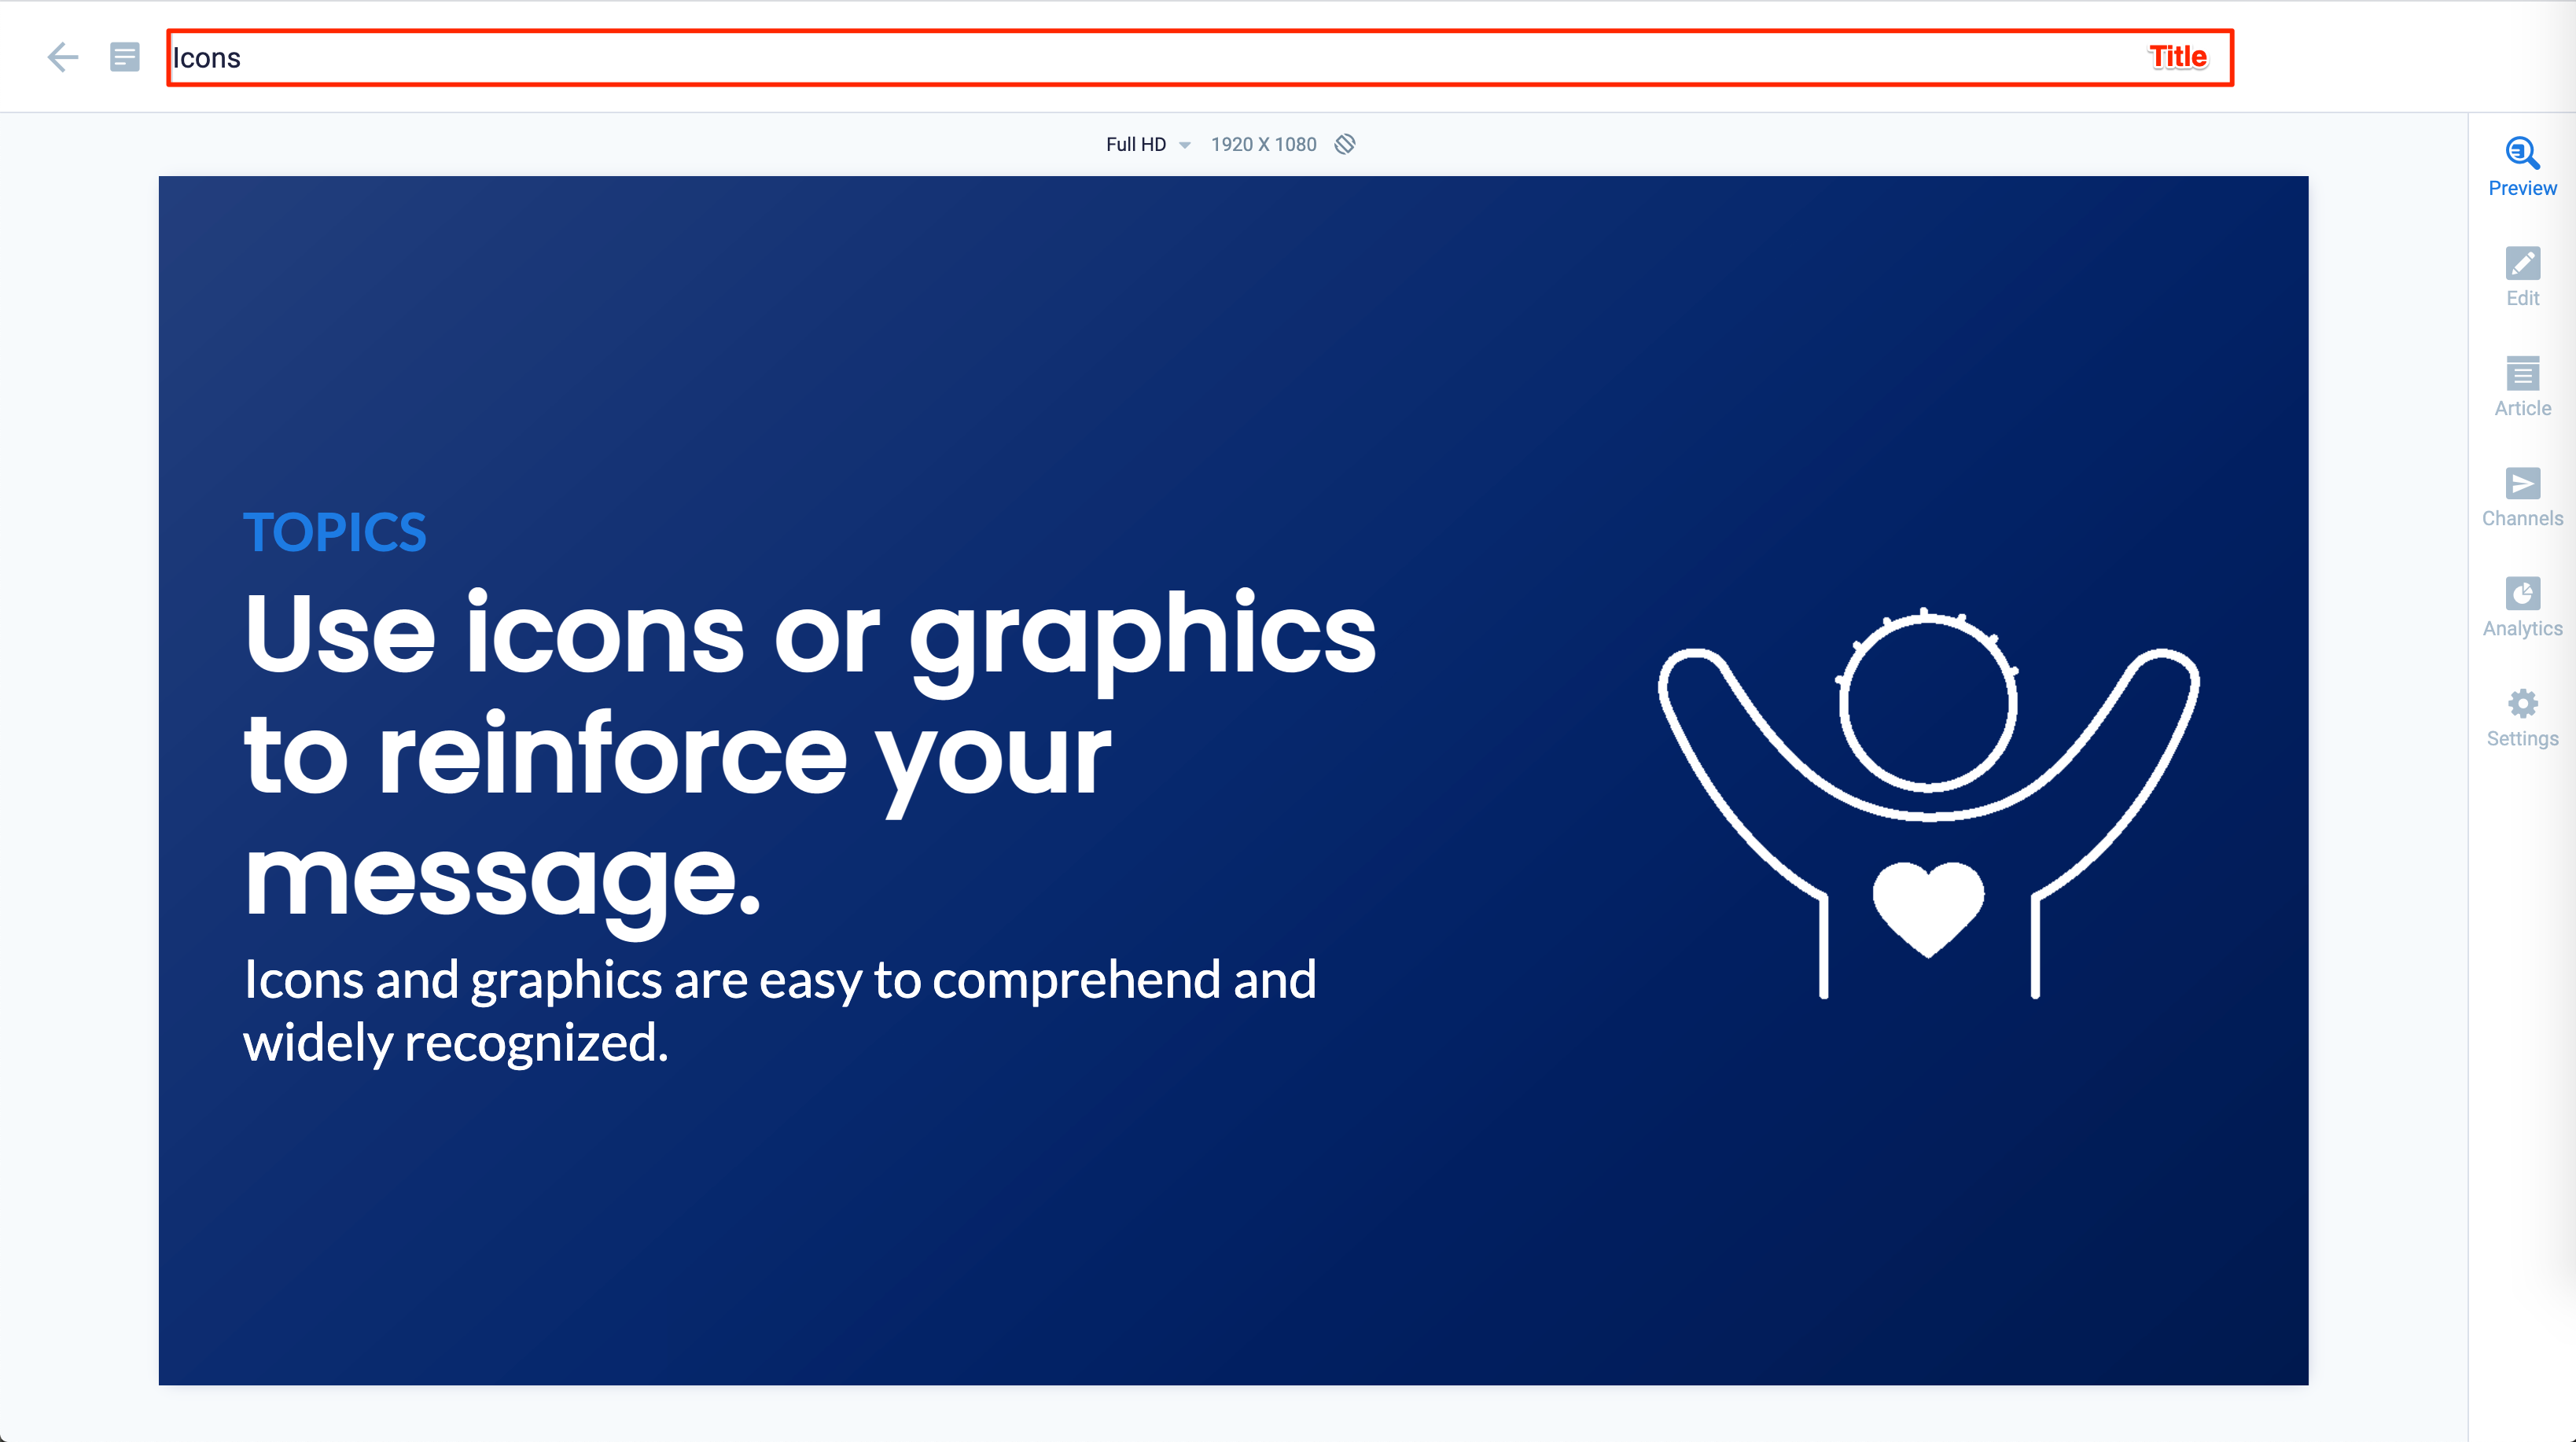
- Enter the Title of the content as this will also act as the filename for the content. This is a mandatory field.
- In the Edit tab:
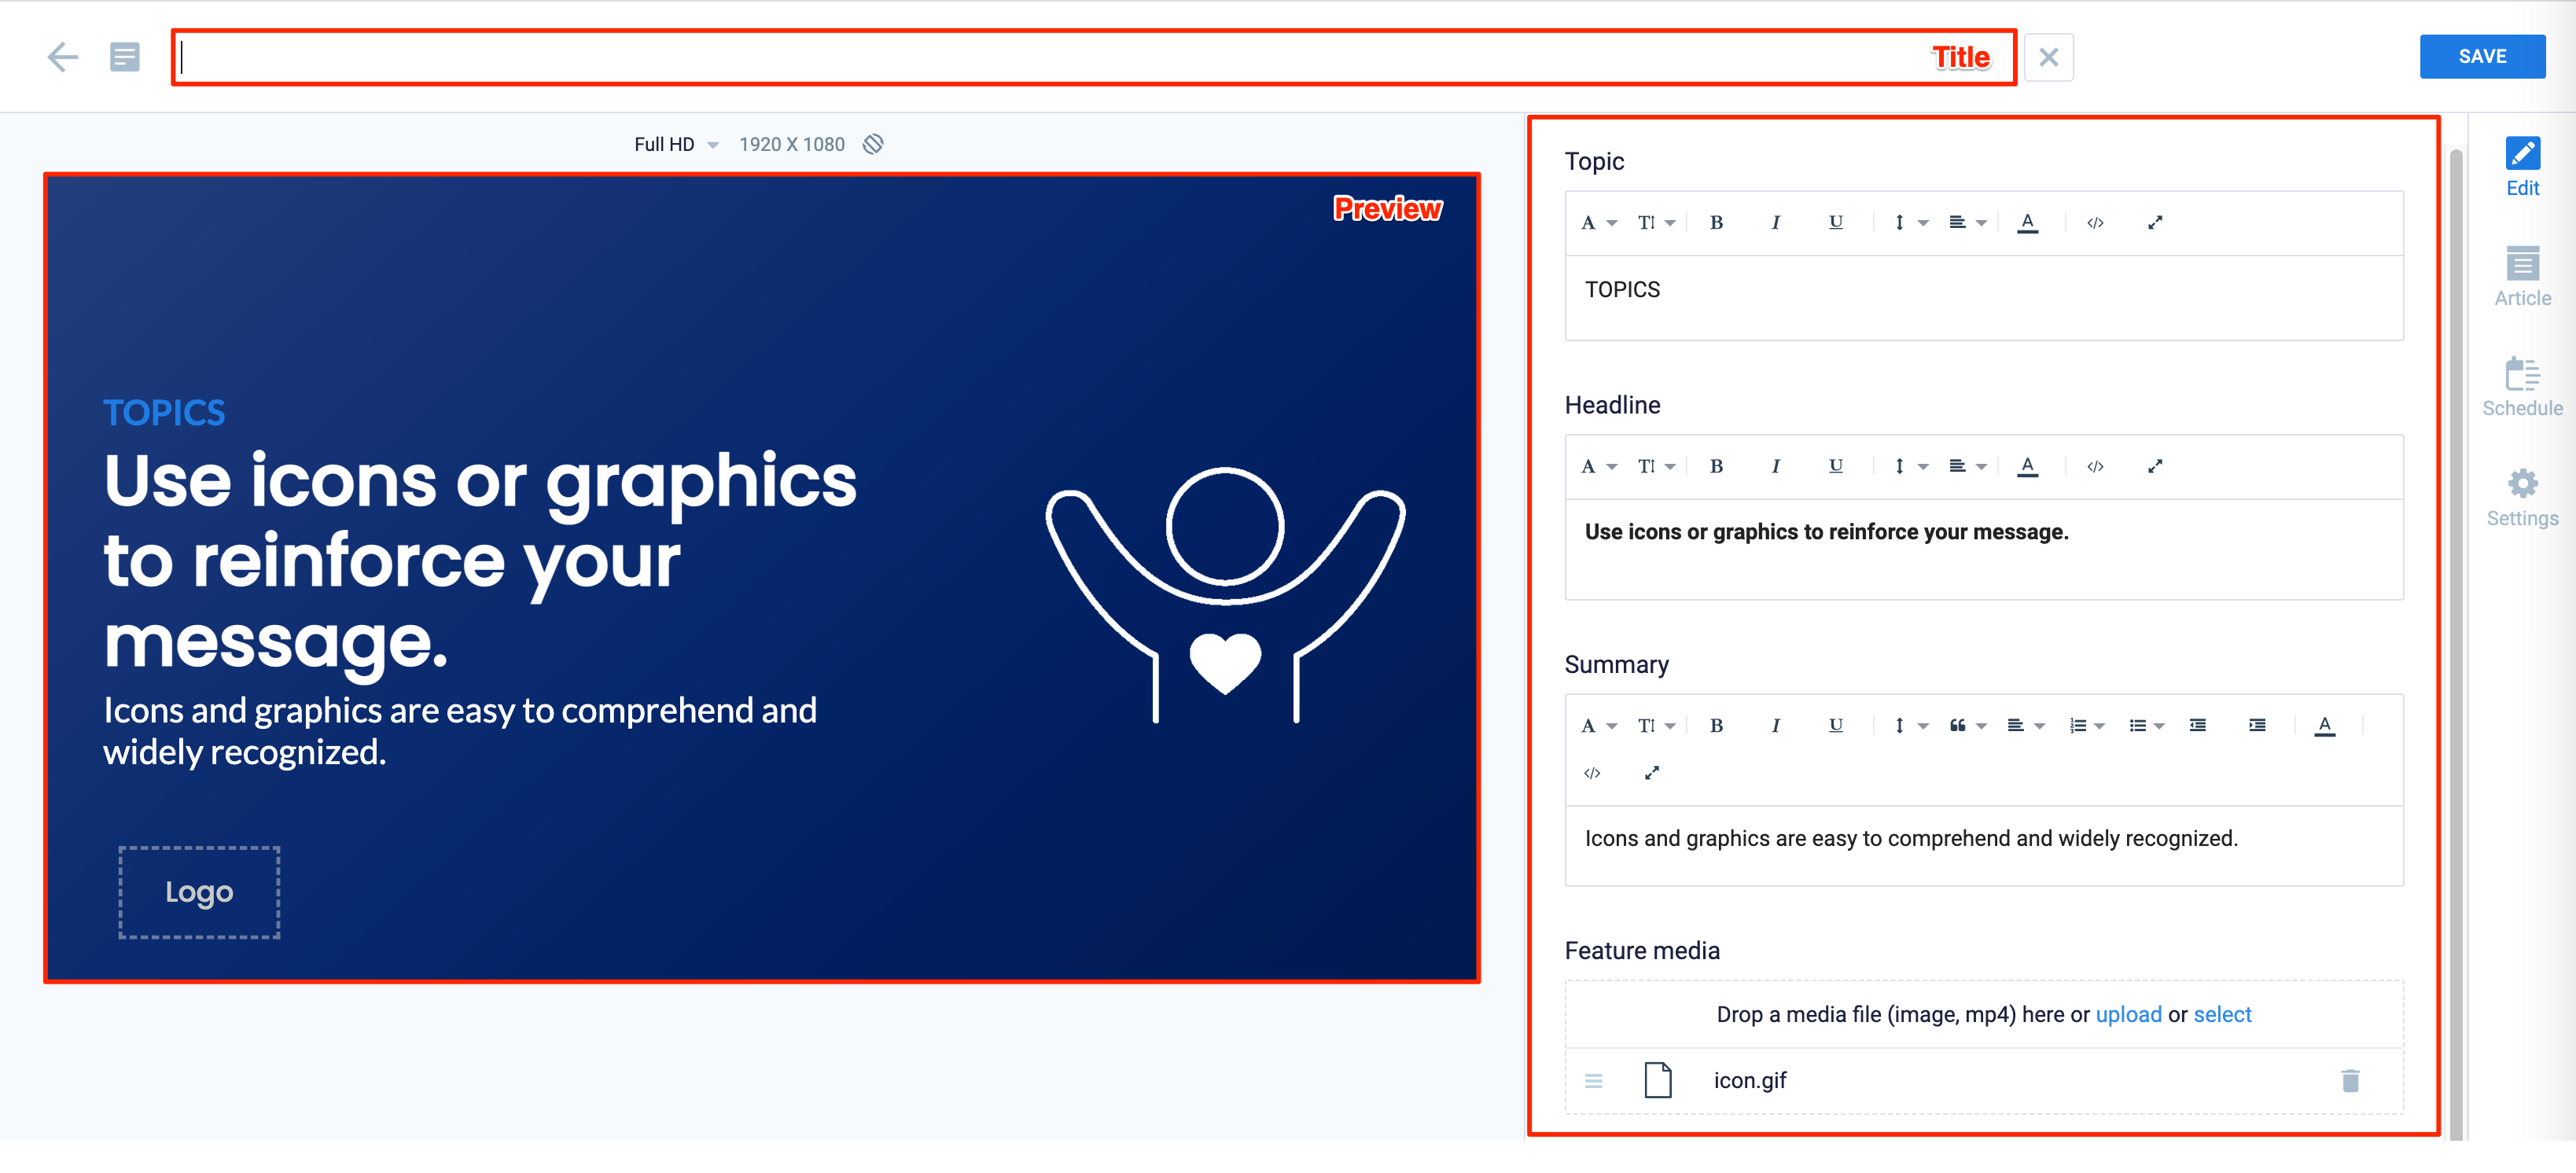
- Enter or configure the relevant fields. Different fields are displayed based on the type of content selected.
NoteFor custom details to configure each card/content type available, please search the Knowledge Center or find the articles listed on our How-To Articles page.
- Enter or configure the relevant fields. Different fields are displayed based on the type of content selected.
- In the Article tab:
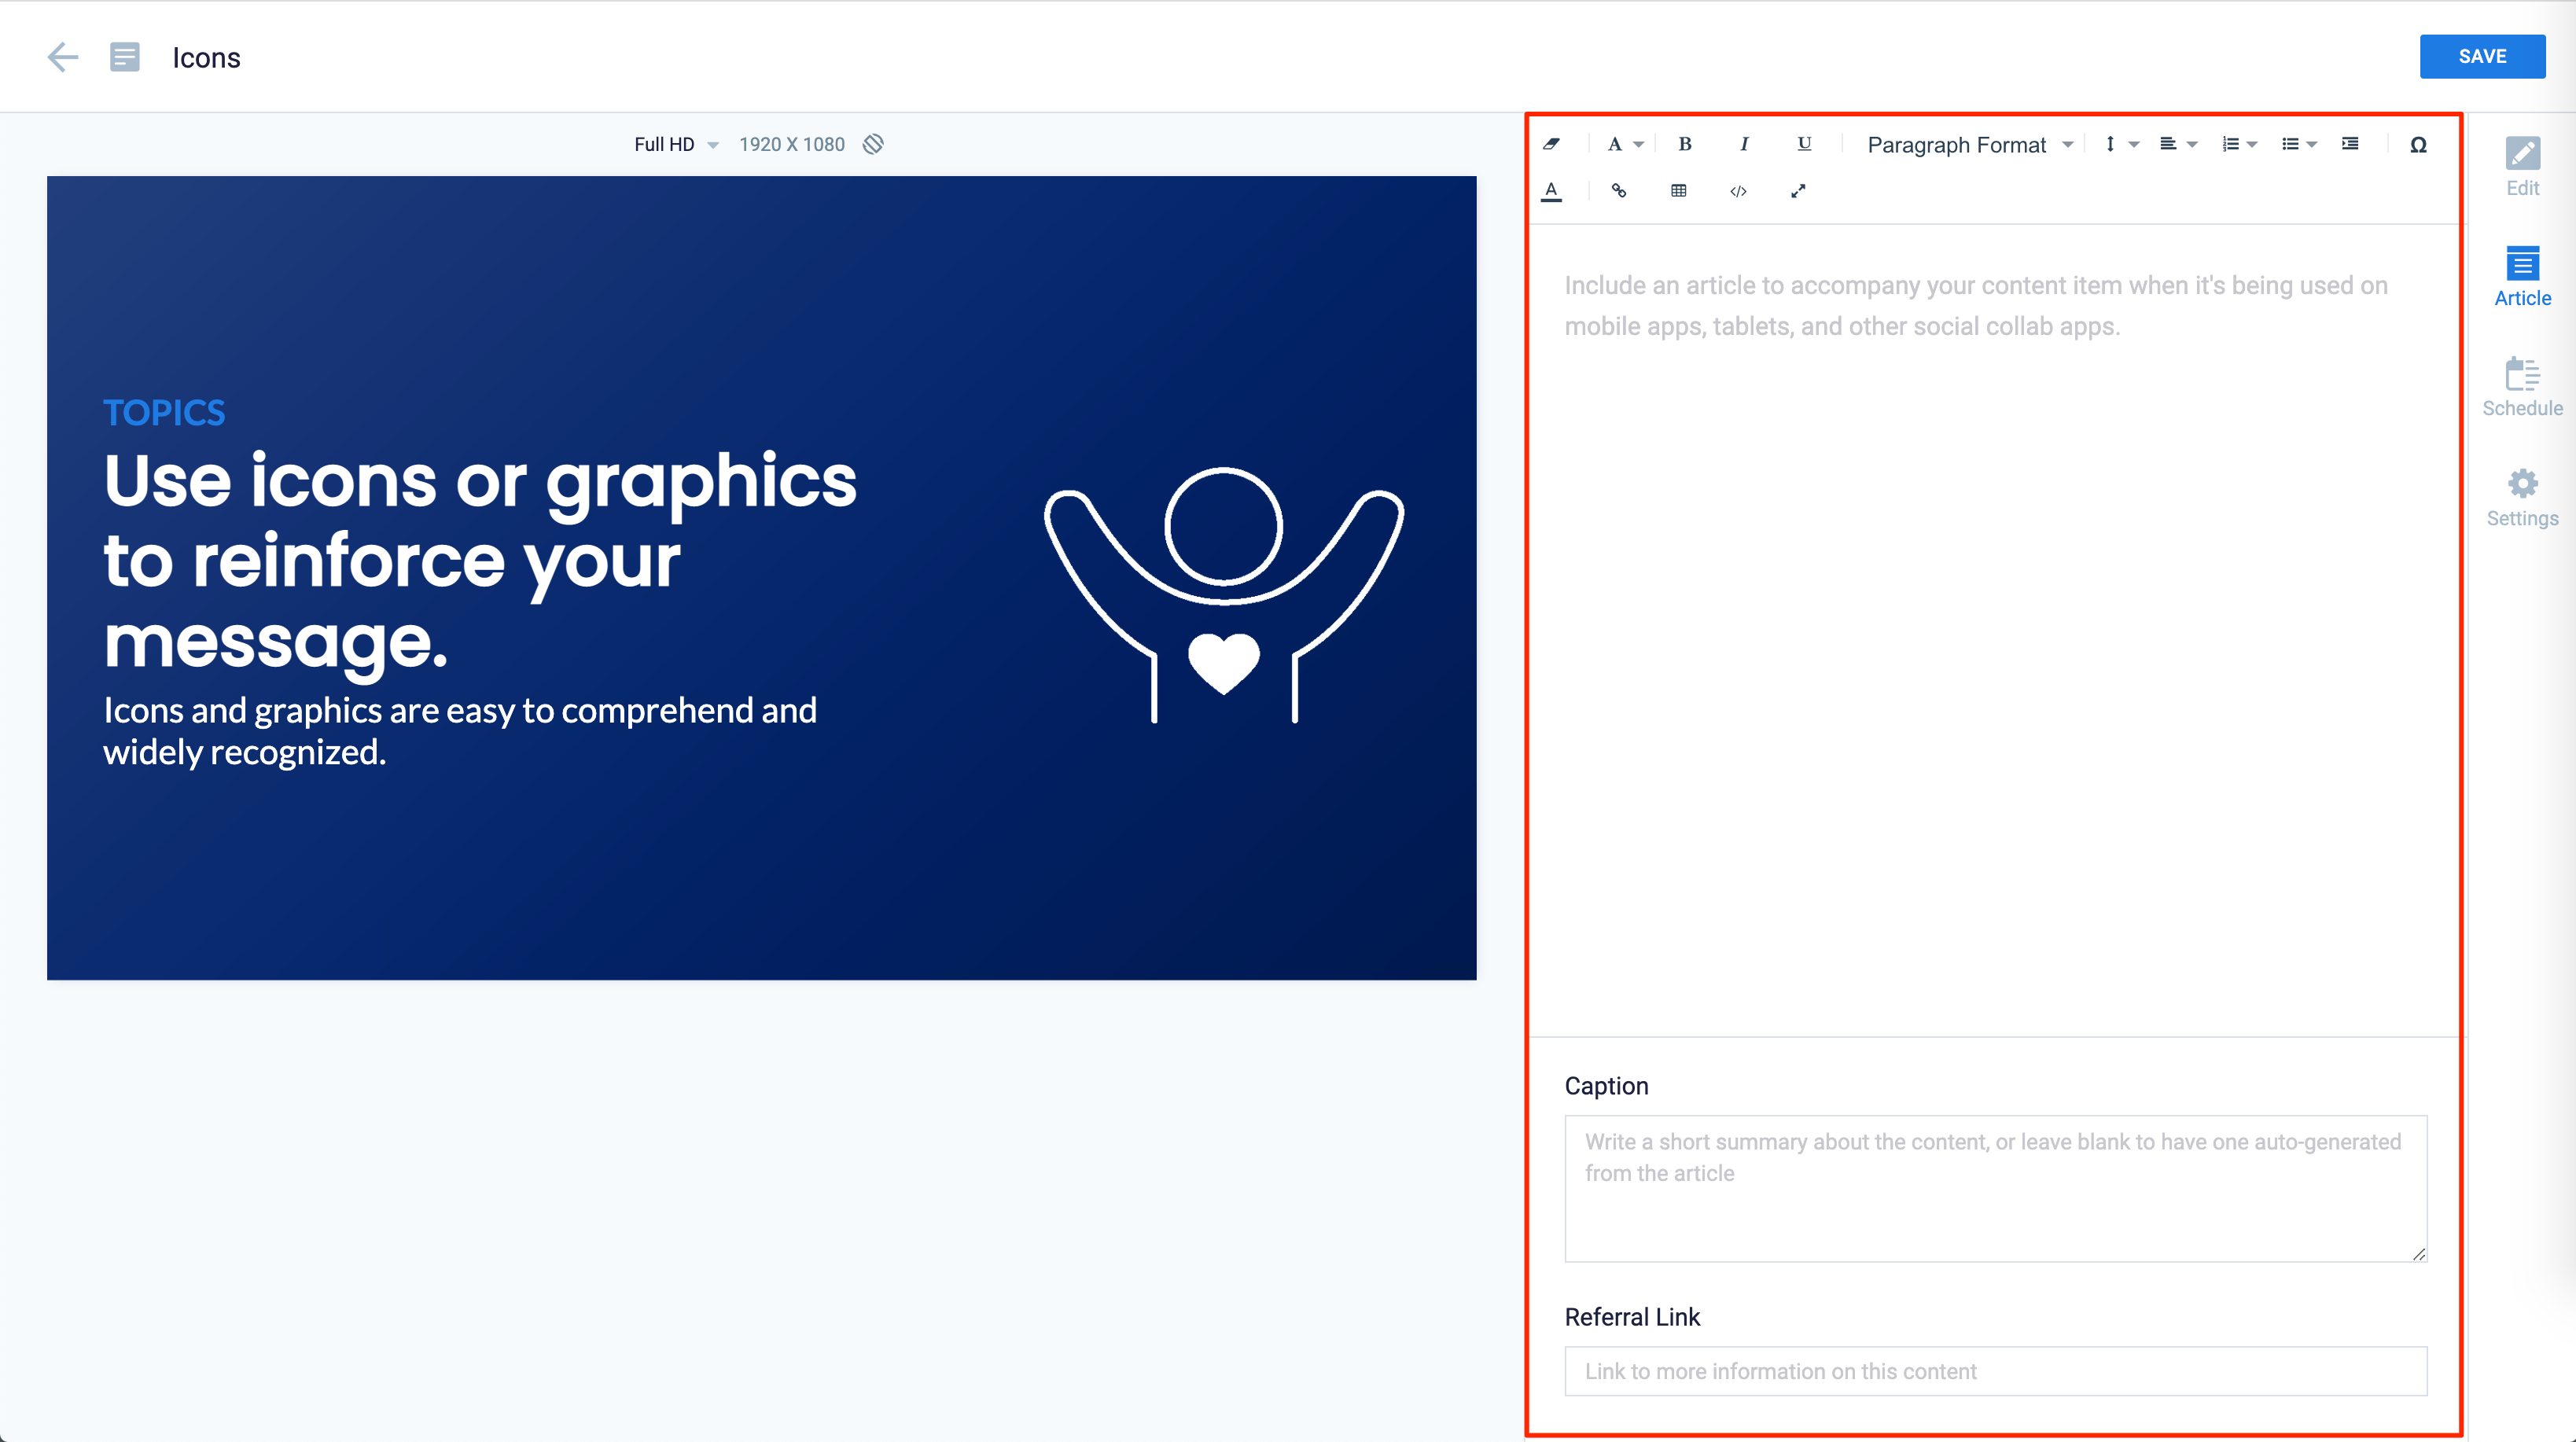
- You may skip this section, or include an Article or Caption to accompany the content item, which will be displayed on mobile apps, tablets, and enterprise messaging apps.
- You may include a Referral Link to an external site that may provide more information.
- In the Schedule tab:
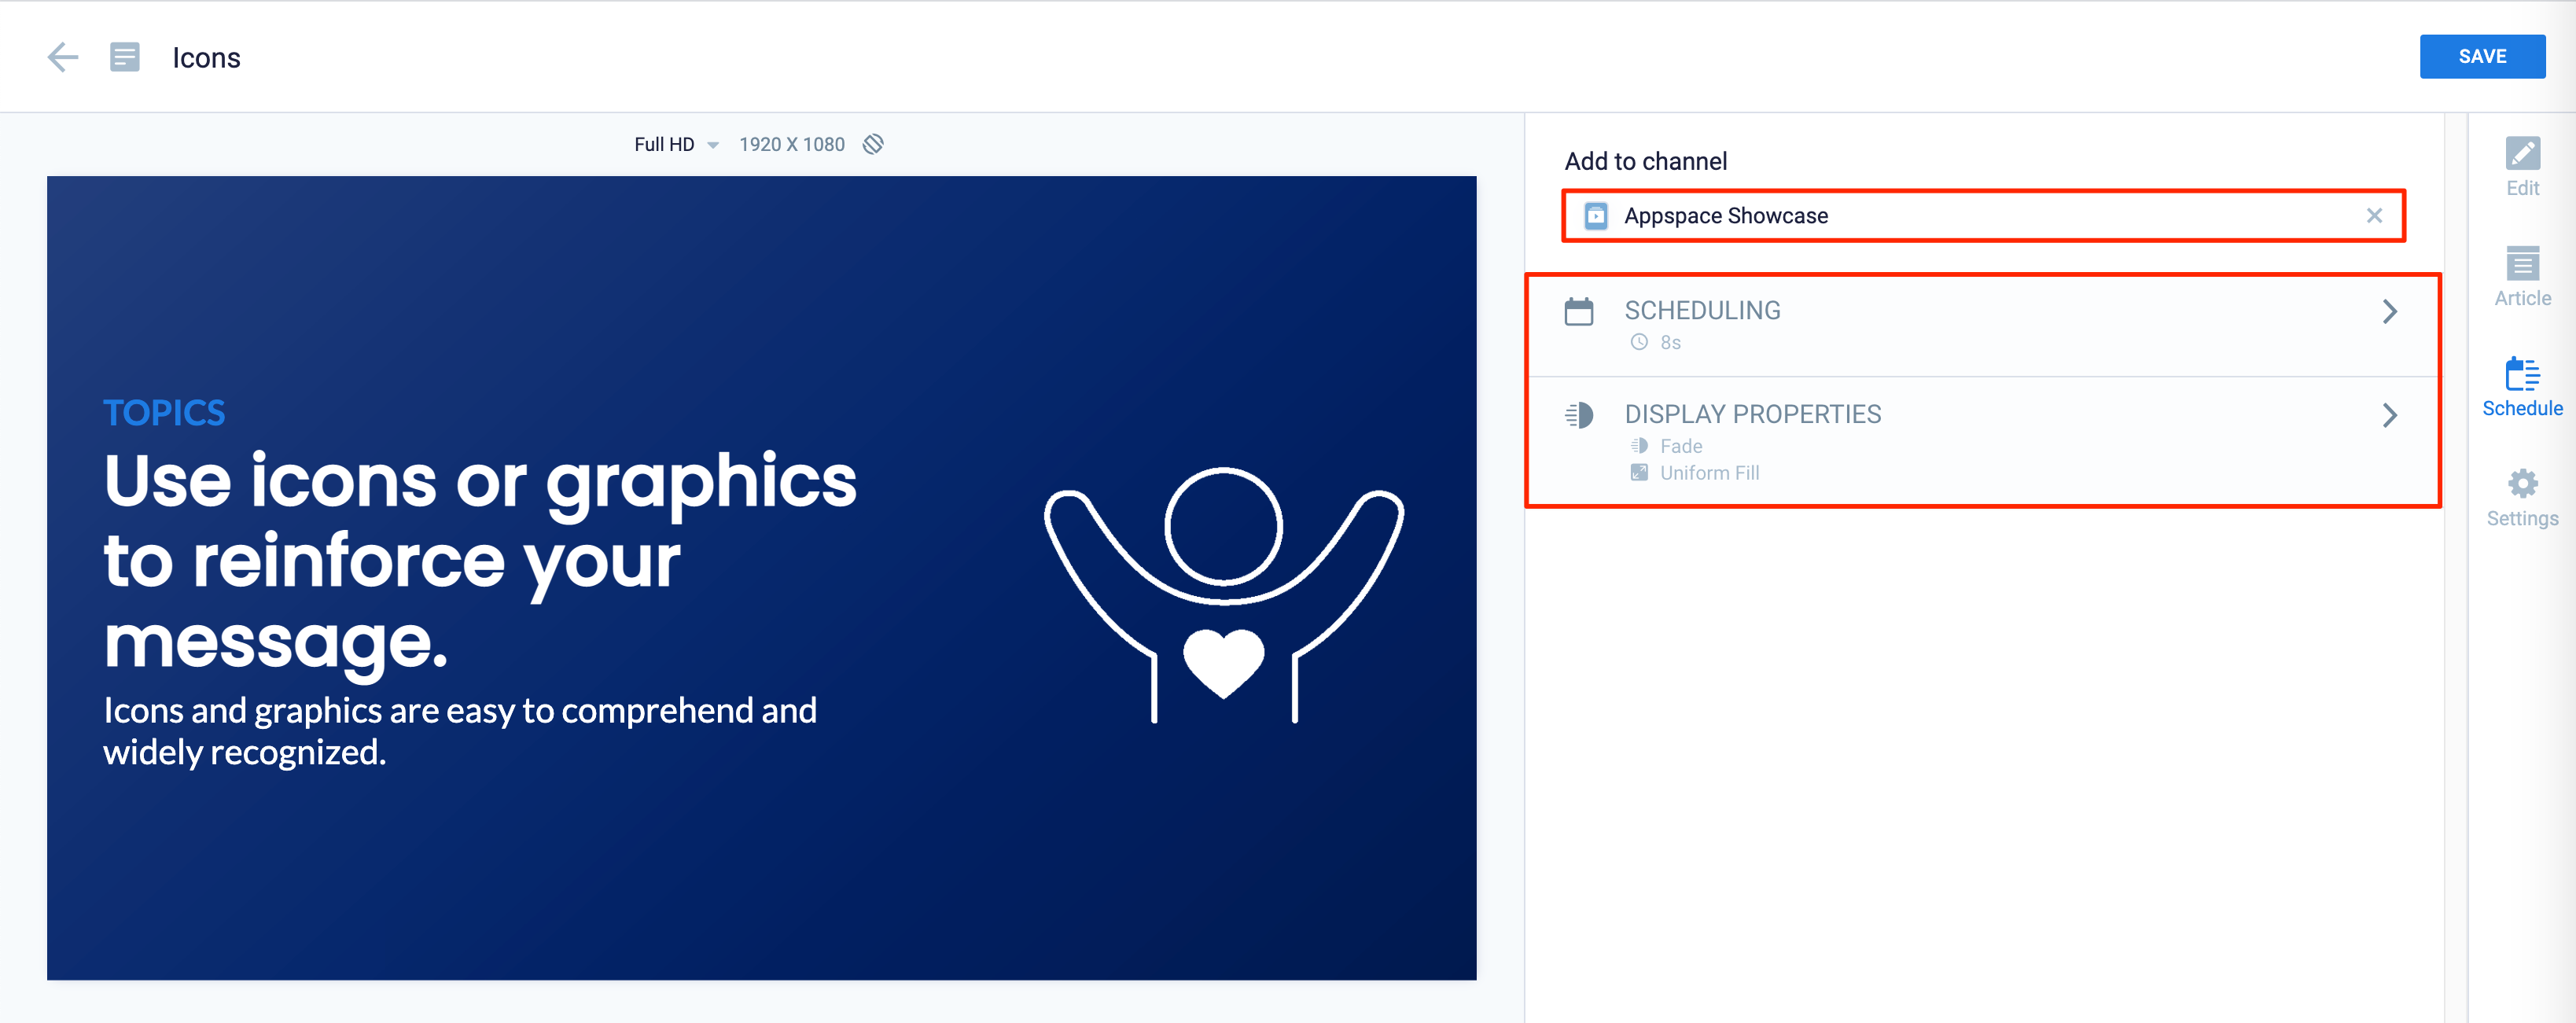
- Assign the content to a playlist channel. Select a channel from the Add to channel drop-down menu. Optionally, you may skip this section and leave the content unassigned and add it to a playlist channel later.
- When the content is assigned to a channel, the SCHEDULING and DISPLAY PROPERTIES options are displayed. Refer to the Configure Content Playback Properties: Dayparting, Frequency, Scheduling, in a Playlist Channel article for detailed configuration instructions.
- In the Settings tab:
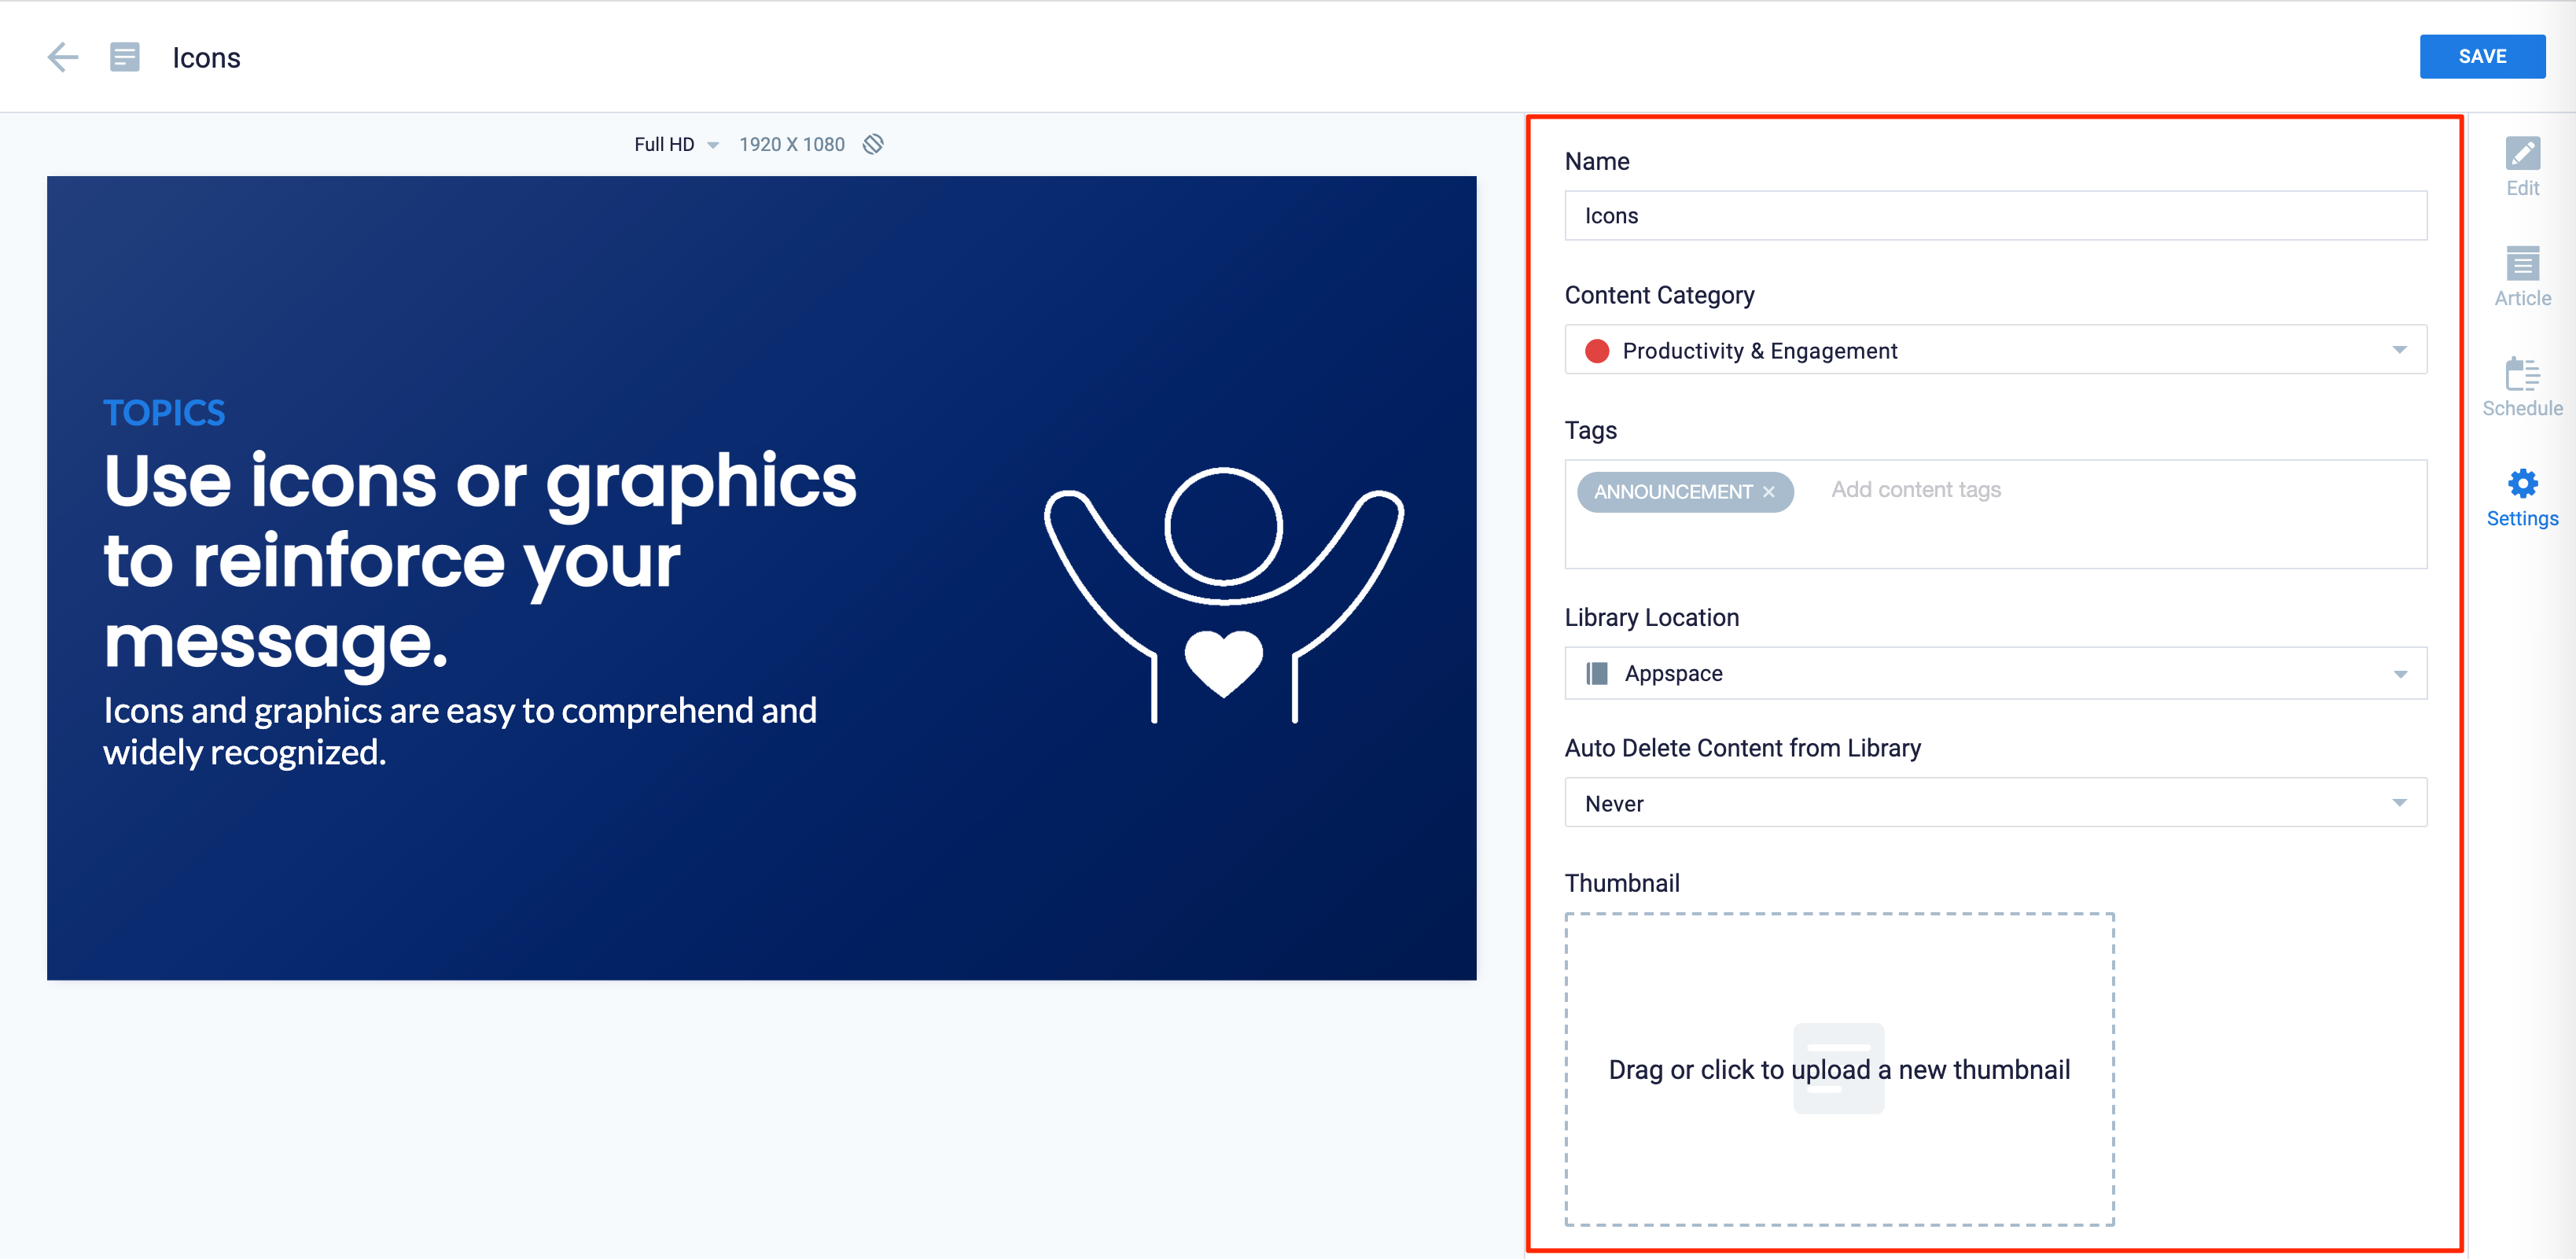
- The Name field will be auto-populated to match the Title of the content which will also act as the filename for the content. This is a mandatory field.
- Select the Content Category for the content. (Optional)
- Enter the Tags for the content. (Optional)
- Select a folder for the content in the Library Location drop-down menu.
- Select an expiry date for the content from the Auto Delete Content from Library drop-down menu. (Optional)
- Upload an image to be used as the Thumbnail for the content.
- Click Save once complete.
Note
For custom details to configure each Card type available, please search the Knowledege Center or find them listed on our How-To Articles page.
Upload Media
The instructions below allow you to upload media to the Library right from your computer.
- Log in to the Appspace console.
- To create content, select one of the following options:
- Click the +QUICK ACTION button from the Appspace menu bar on the top right, and select Upload Media.
- Select the Library module from the ☰ Appspace menu, and select a library or folder you wish to create the content in. Click the Upload Media button.
- To add content to an existing channel refer to Add Content to Playlist Channels.
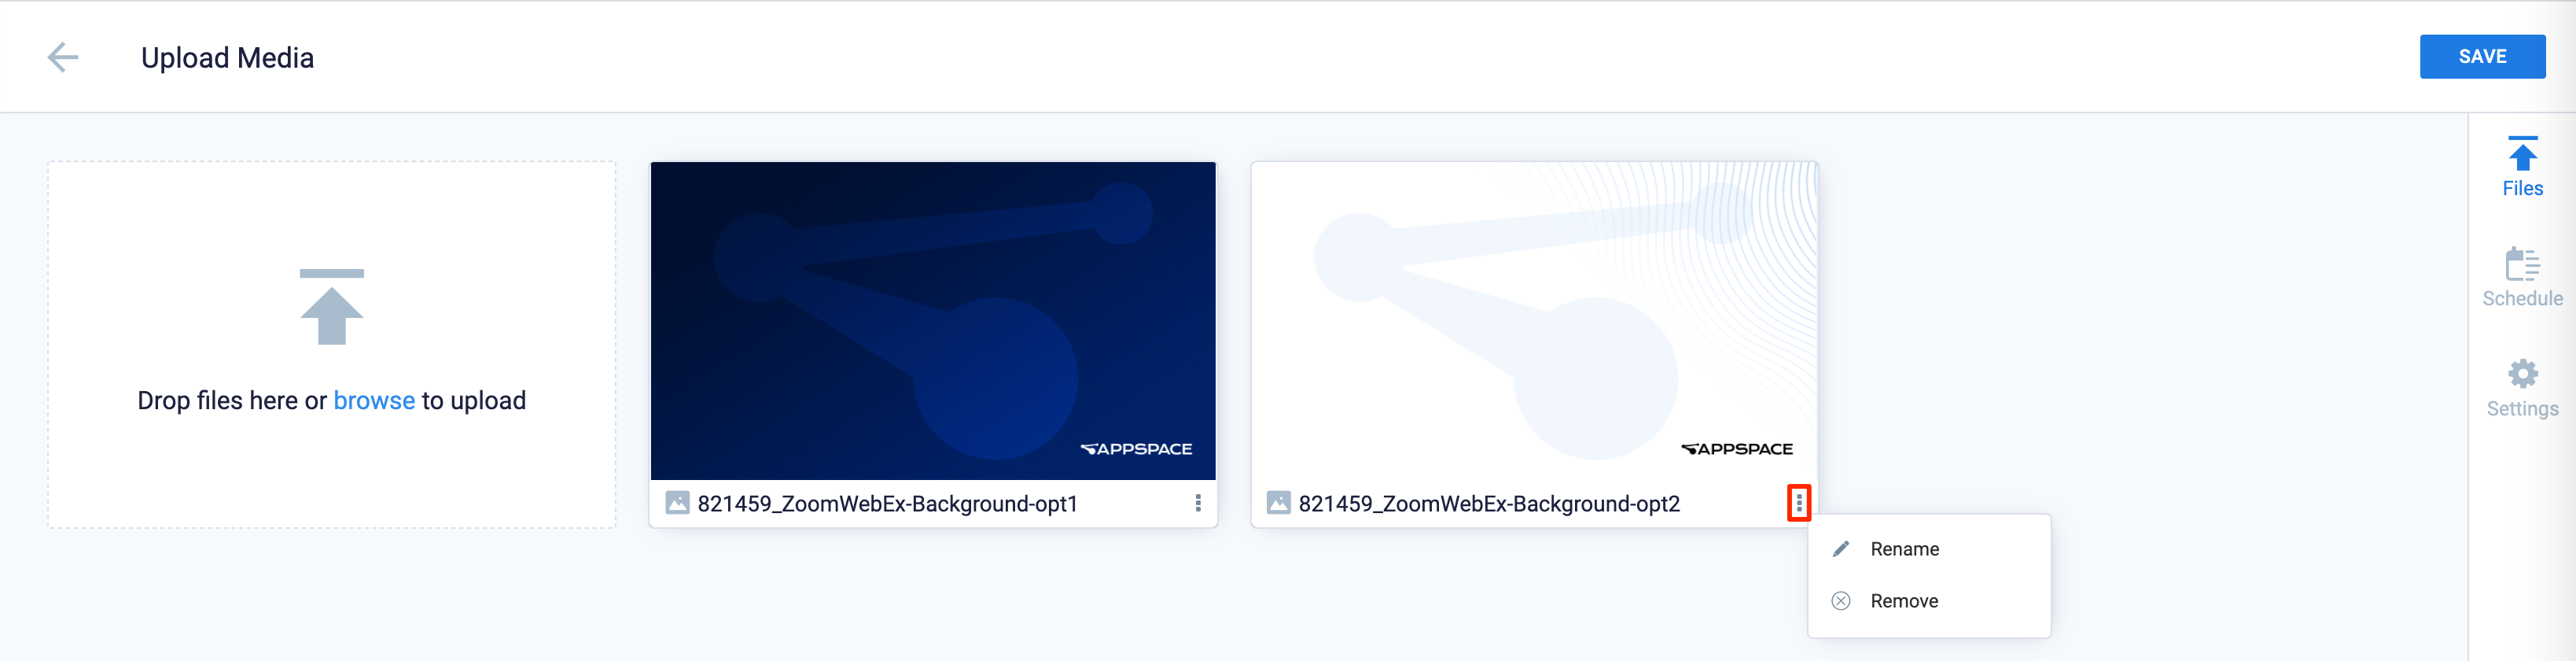
- In the Files section, do one of the following:
- Drag-and-drop media files from a folder on your computer.
- Click the browse link, and select the media files to upload from your computer.
NoteIf multiple media files are uploaded, you may rename or remove the incorrect uploaded media files by clicking the ellipsis, and selecting the necessary action.
- In the Article tab:
- You may skip this section, or include an Article or Caption for the image or video, to accompany the content item, which will be displayed on mobile apps, tablets, and enterprise messaging apps.
- You may include a Referral Link to an external site that may provide more information.
- In the Schedule tab:
- Assign the content to a playlist channel. Select a channel from the Add to channel drop-down menu. Optionally, you may skip this section and leave the content unassigned add it to a playlist channel later.
- When the content is assigned to a channel, the SCHEDULING and DISPLAY PROPERTIES options are displayed. Refer to the Configure Content Playback Properties: Dayparting, Frequency, Scheduling, in a Playlist Channel article for detailed configuration instructions.
- In the Settings tab:
- Enter the Name of the content as this will also act as the filename for the content. This is a mandatory field.
- Select the Content Category for the content. (Optional)
- Enter any relevant Tags for the content. (Optional)
- Select a folder for the content in the Library Location drop-down menu.
- Select an expiry date for the content from the Auto Delete Content from Library drop-down menu. (Optional)
- Click Save once done.
Edit Content
Follow the instructions below to edit content:
- Log in to the Appspace console.
- To edit content, select one of the following options:
- Select the Library module from the ☰ Appspace menu, select a library or folder, and double-click the content.
- Select the Channels module from the ☰ Appspace menu, select a channel, and click the content.
- Click the Switch to Employee View button in the Appspace menu, select a content, and click the Edit content icon.
ImportantIf you are unable to locate the content, try using either the Search bar, the Order by, or Filter icon to narrow down the content that you are looking for.
- Select and click the content to edit, and select the desired tab to edit or view.
- In the Edit, Article, and Settings tabs:
- You may edit the content the same way as it was configured. For detailed instructions on how to do this, please refer to the Create and Configure section above.
- In the Preview tab:
- Preview how the content is displayed on your device.
- In the Channels tab:
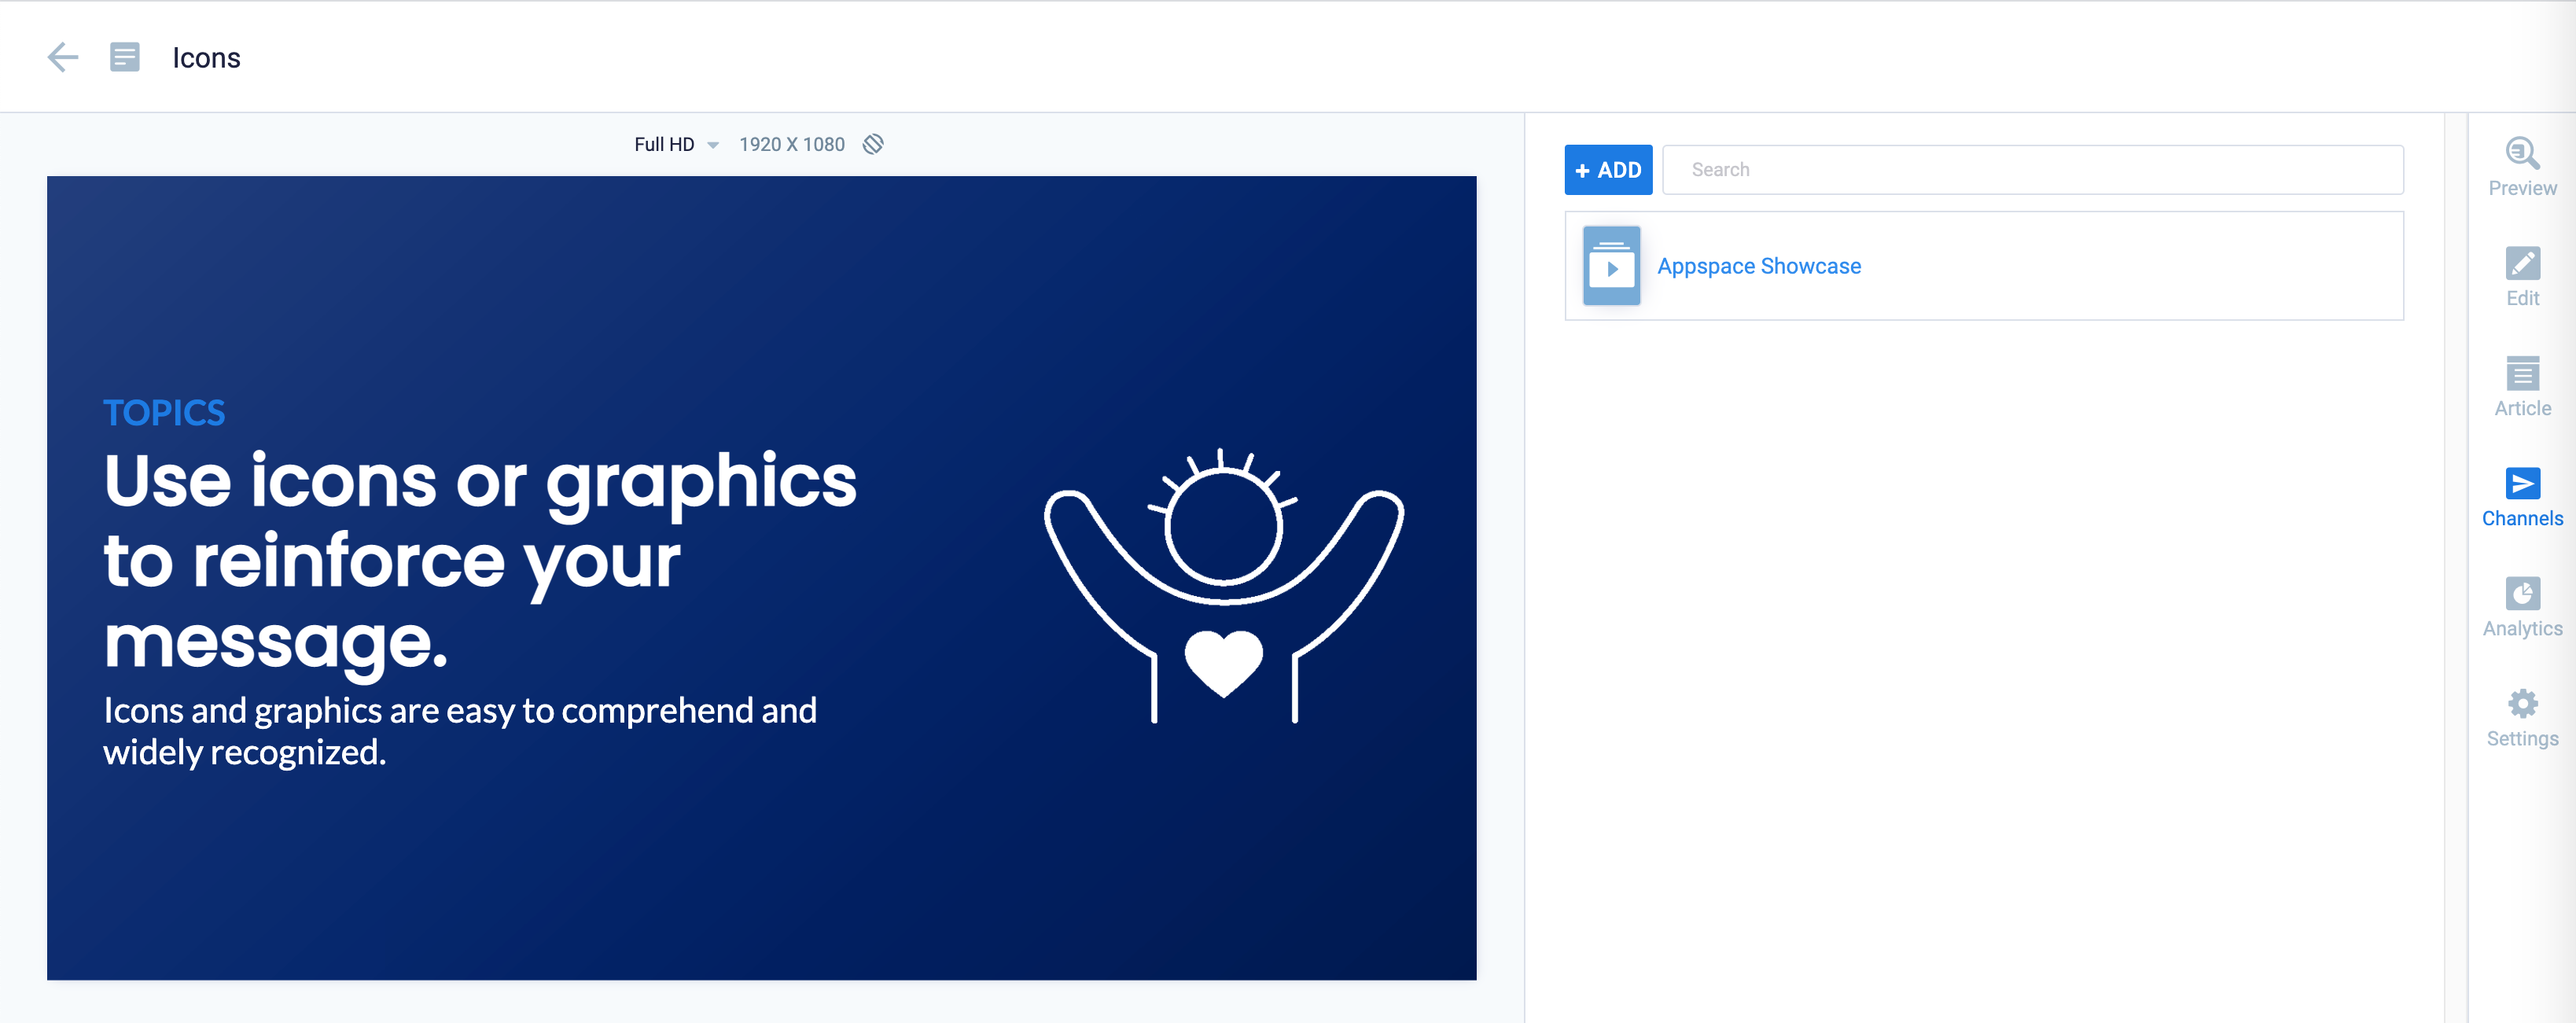
- You may add the content to a channel by selecting the channel from the Add to channel drop-down menu or leave it unassigned for later.
- When the content is assigned to a channel, the SCHEDULING and DISPLAY PROPERTIES options are displayed. Refer to the Configure Content Playback Properties: Dayparting, Frequency, Scheduling, in a Playlist Channel article for detailed configuration instructions.
- In the Analytics tab:
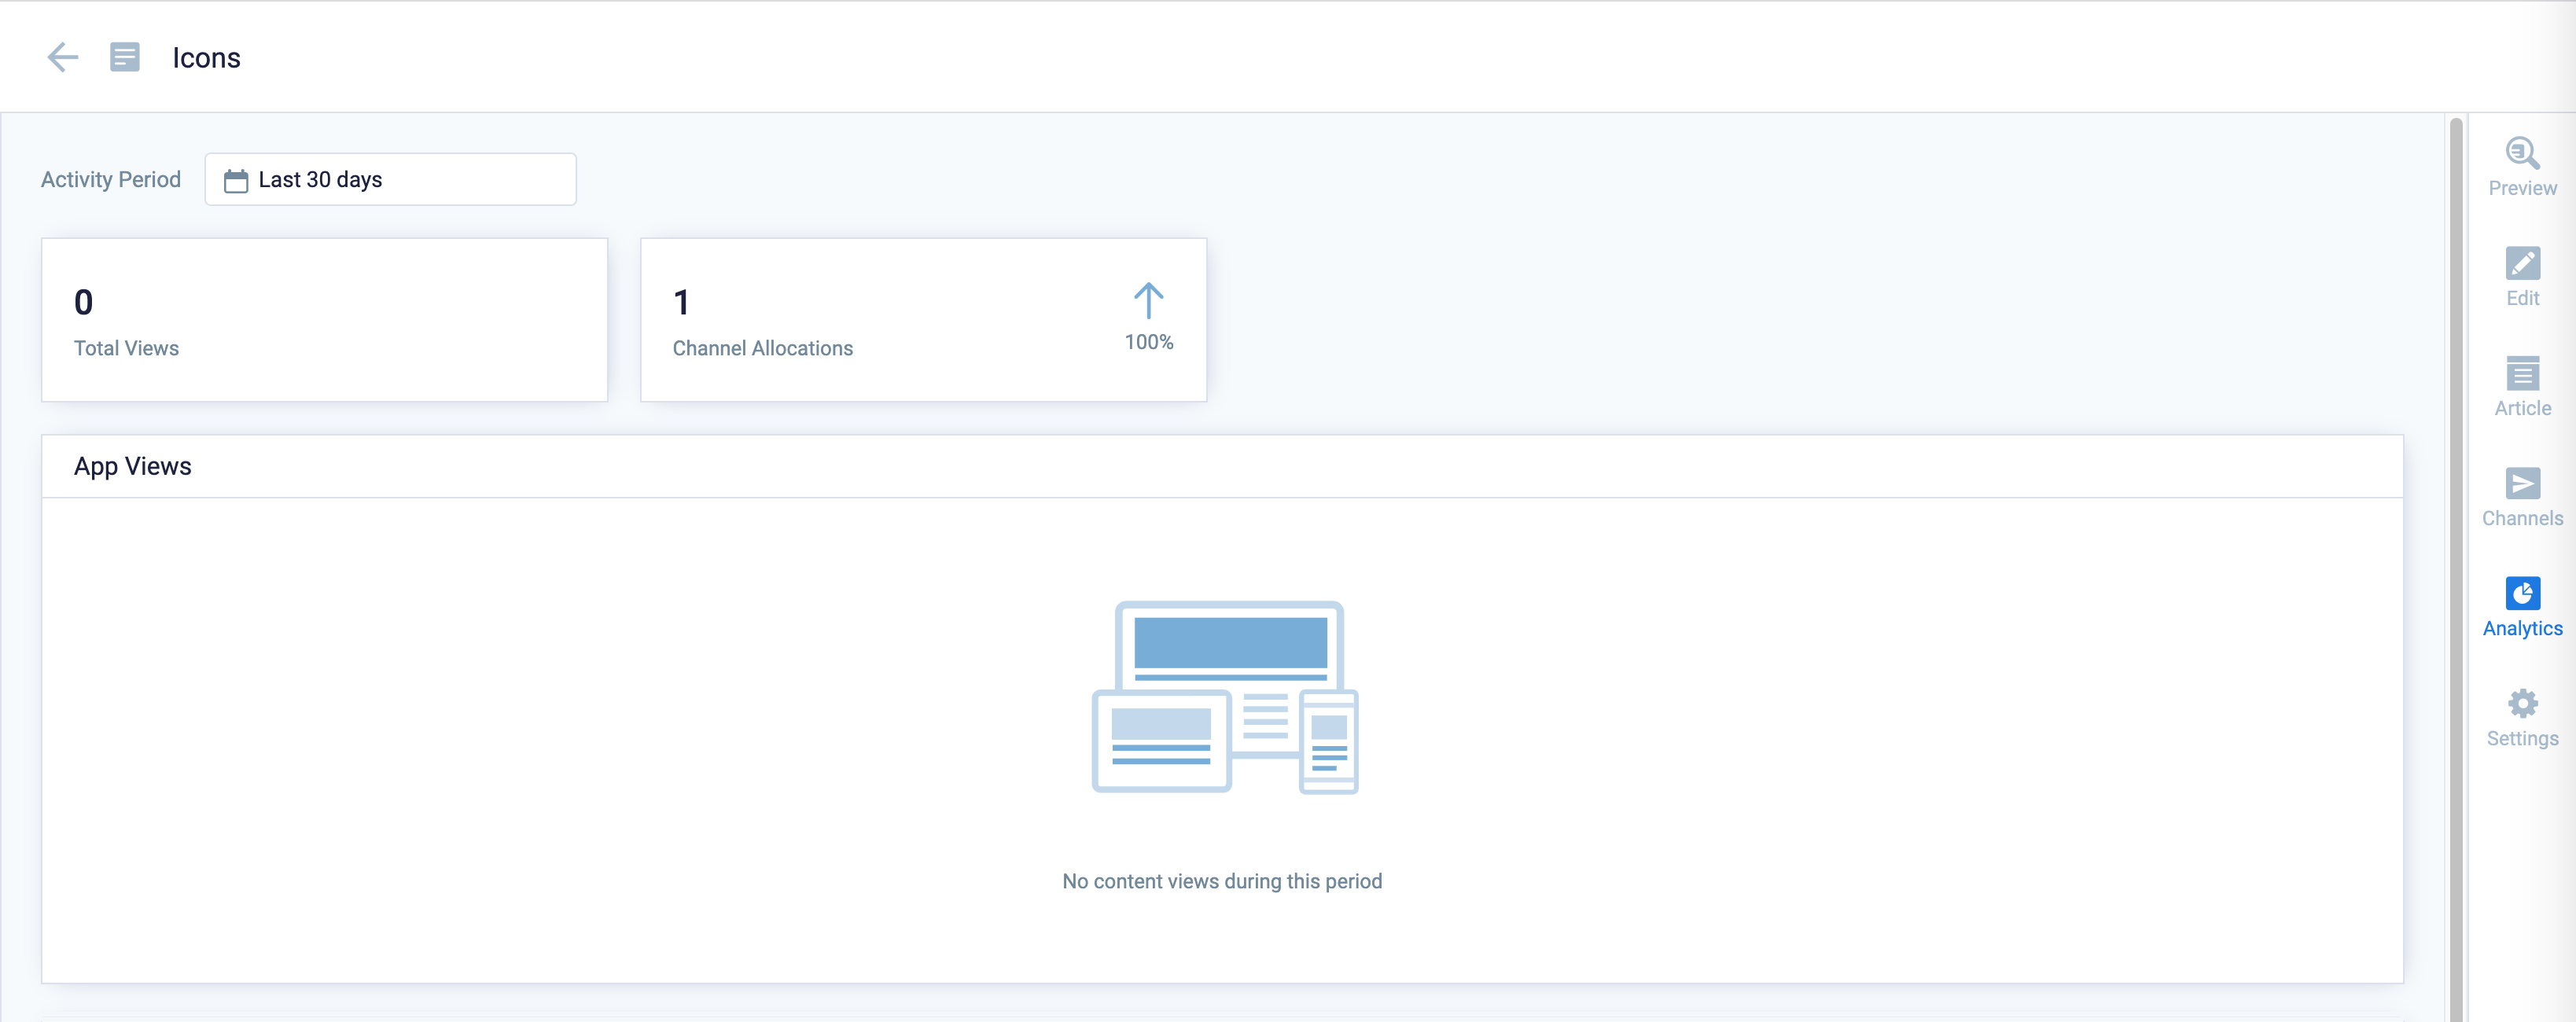
- View the individual content analytics in this tab. For more information, please refer to the Individual Content Analytics section of the Analytics article.
- In the Edit, Article, and Settings tabs:
- Click Save once complete.
Note
For custom details to configure each Card type available, please search this Knowledege Center or find the articles listed on our How-To Articles homepage.
Was this article helpful?