Select a channel
Select a channel containing a content item that you want to schedule.
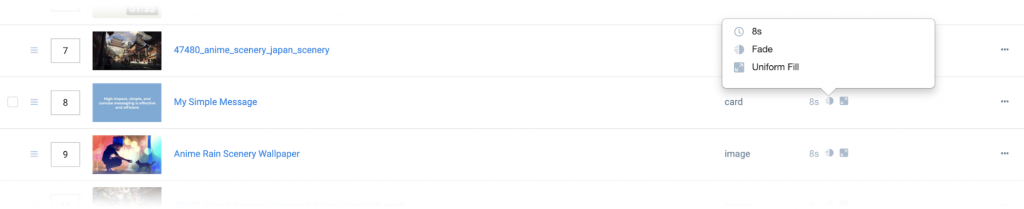
Open the content item's playout properties
Click on the playout column of the content item in the channel to view its playout properties.
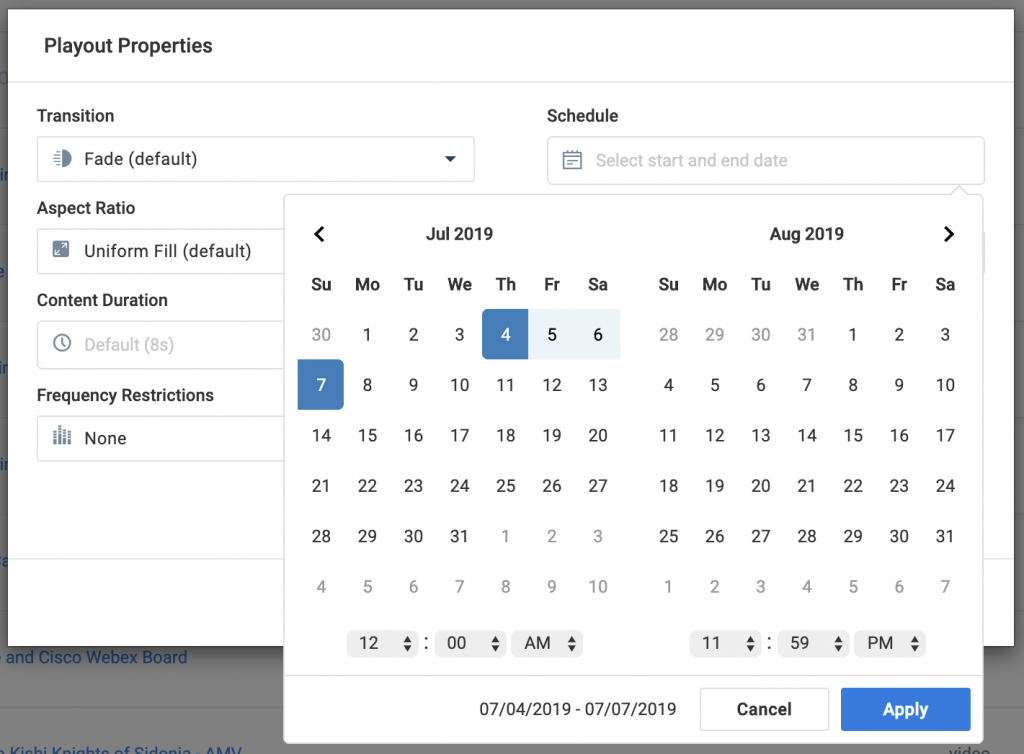
Set the schedule
Click on the Schedule field to open the Schedule Calendar. Select your start and end date along with the time, then click on the Apply button.
Confirm and save the schedule
The Schedule field now shows your selected date range and time. Click on the Save button to confirm your schedule settings of the content item.
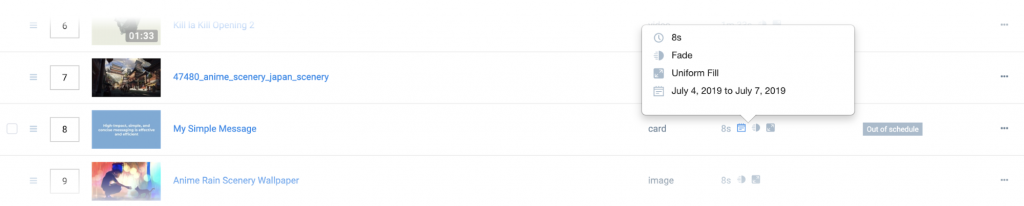
Content is scheduled
You will now see a schedule icon appear in the playout column for the content item, indicating that it has an active schedule.
Note: An Out of schedule label appears next to the playout icons if the content item’s schedule date range occurs before or after the current date and time (e.g. Setting the schedule to start in the future from July 4 to July 7, and the current date is May 3).
Was this article helpful?