Assign Editors to Channels

Introduction

In this guided path, you will learn how to assign one or more editors to channels. As a publisher who is managing multiple channels, you can expand content management responsibilities across multiple team members by assigning them as editors for your channel. By assigning team members as editors for a channel, you empower them with the ability to add and manage content in the channel independently.

An editor is a content authoring role with the ability to do the following actions:

  • Add content to a channel
  • Remove content from a channel
  • Disable content in a channel
  • Change content playout properties for content items in a channel
  • Change the sequence of content items in a channel

As a publisher, you also have the option to enable workflow approvals so that you can review editor changes before publishing. By default, the approval workflow is not enabled and therefore any editor will be able to make immediate changes. If you would like to enable the content approval workflow for a channel, please read Setup Approvals for Channels.

Prerequisites

Before you begin, ensure that you have the following prerequisites met:

  • You will need an Appspace cloud account.
  • You will need Publisher permissions to be able to assign people as authors for a channel.
    • Publisher permissions give you the ability to manage a channel in its entirety and how it gets published.
    • Publisher permissions are granted by the administrator of the account, which will typically be the Account Owner.
  • You already have one or more channels that you want to assign to editors.

Assign team members as editors

When a playlist channel is first created, the users with access to the channel is the publisher who created the channel, and other publishers with inherited channel ownership from a group. Additional team members will need to be assigned with a content publishing or authoring role to expand content management responsibilities.

To assign editors to a channel, simply follow the steps below.

Select the channel for assignment

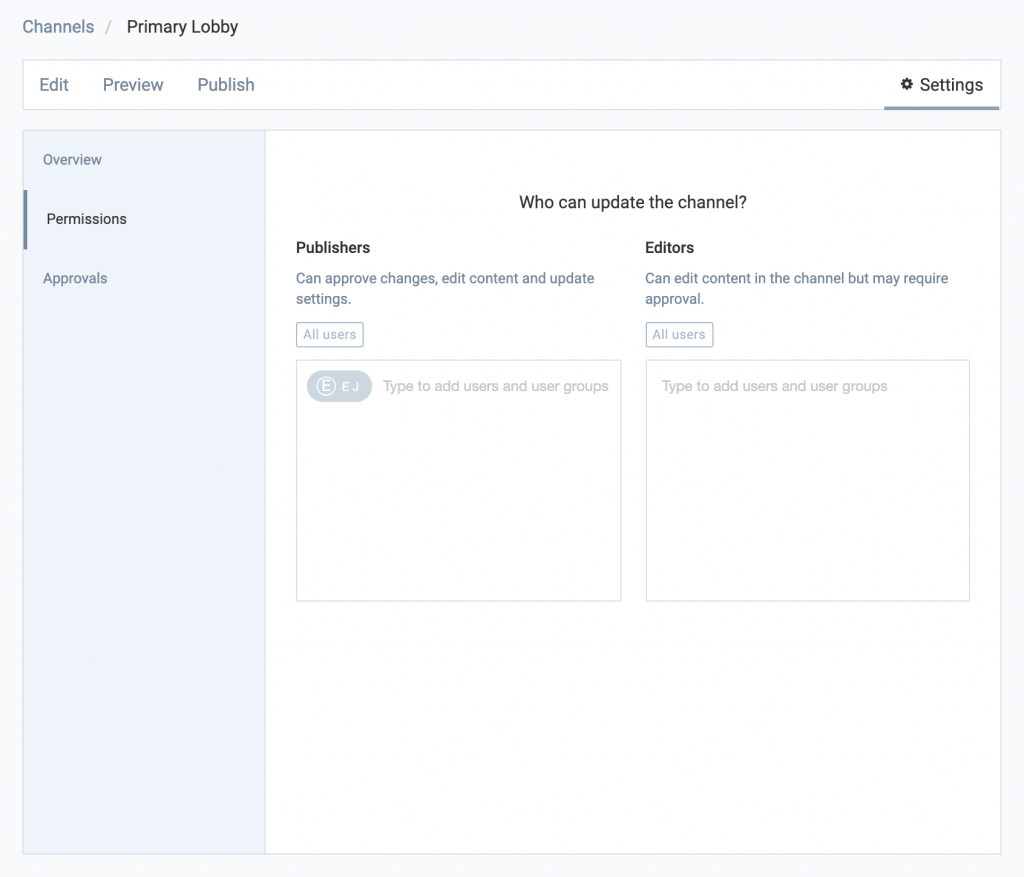
Select a channel that you have access to and click on Settings to access the Settings Overview for that channel. At the left side, click on Permissions to see who can update channel.

1

Assign editors to the channel

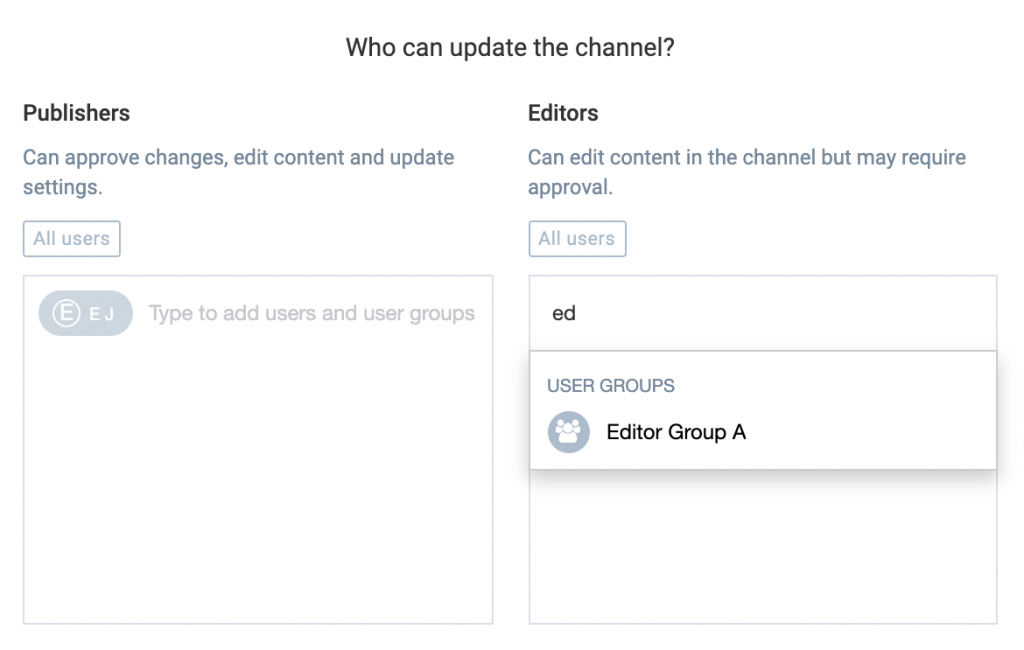
The Editors assignment block is shown at the right. To add team members as editors, simply start typing a name in the assignment input box. An automatic dropdown list will be generated based on what you are typing. Simply select the desired name from the list to add.

  • Individual users can be assigned with editor permissions.
  • A user group can also be assigned with user permissions.

Once selected, the name of the user or user group will appear in the assignment input box. You can assign as many users or groups as you like.
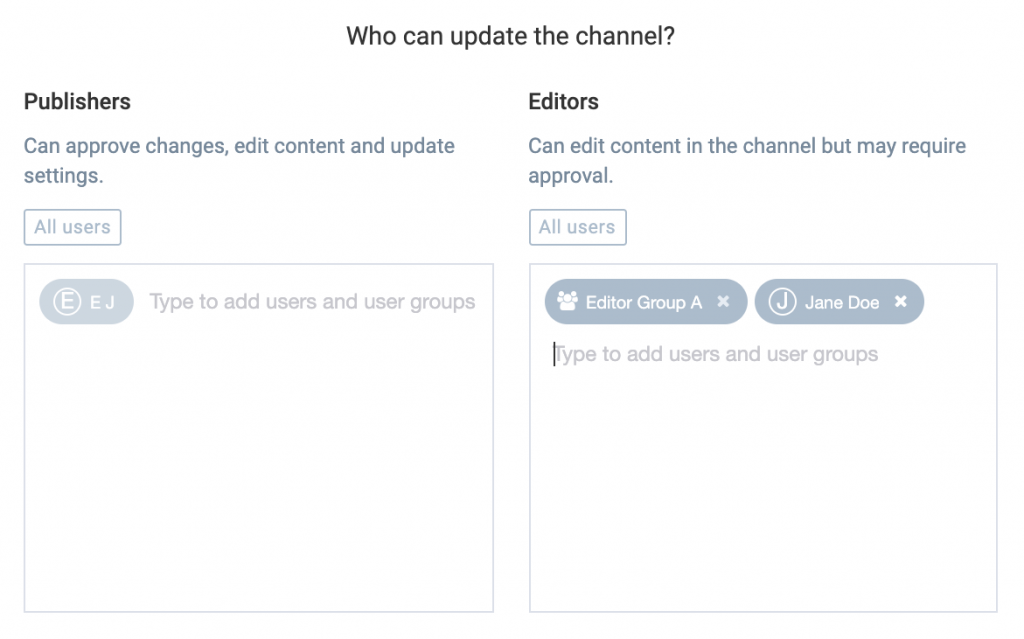
2

Remove editors

If you have too many editors and need to remove one or a few, simply click on the X beside each name to remove from the assignment input box.

3

Apply your changes

Once you are happy with your selection of channel editors, click on the Save button to save the permissions assignment.

4

Congratulations!

You have successfully assigned editors to your channel.

The channel will now be available to your team members or user groups who have been assigned as editors. They can now access the channel to perform channel editing tasks such as adding new content or making adjustments to existing content for the channel. You can repeat the above process for other channels that need editor assignments.

What's Next?

Deepen your knowledge of cards and channels by taking a look at more authoring paths and guides.