Publish Channels to the Web

Introduction

In this guided path, you will learn how to publish channels to the web so that it can be viewed with a web browser. When a channel is published to the web, it becomes viewable by anyone with access to the channel’s published URL.

In order for you to publish a channel to the web, you will first require publisher permissions for at least one channel. Once you have publisher permissions for one or more channels, you can then enable the option to publish the channels to the web. When activated, a URL is generated for the channel which can then be shared to anyone who wants to view or embed the channel in a web page.


Note
This option is ideal for web browsers. Devices that can run the Appspace App must be registered first, and the Publish to Devices option must be used instead.


Prerequisites

Important
This is an Appspace Controlled Release feature. Contact your Appspace Customer Success Manager or Appspace Customer Care to have this feature enabled on your account.


Before you begin, ensure that you have the following prerequisites met:

  • You will need Publisher permissions as a minimum for a channel.
    • Publisher permissions gives you the ability to manage a channel in its entirety and how it gets published.
    • As a Publisher, you choose which devices and users you want to publish channels to.
    • Publisher permissions are granted by the admin of the account, which will typically be the Account Owner.
  • You have one or more existing channels that you manage.

Publish a channel to the web

A publisher has the ability to publish the channel to devices, users, or the web. When you choose to publish a channel to the web, you will make the channel available for public viewing with a browser.

To publish a channel to the web, simply follow the steps below.

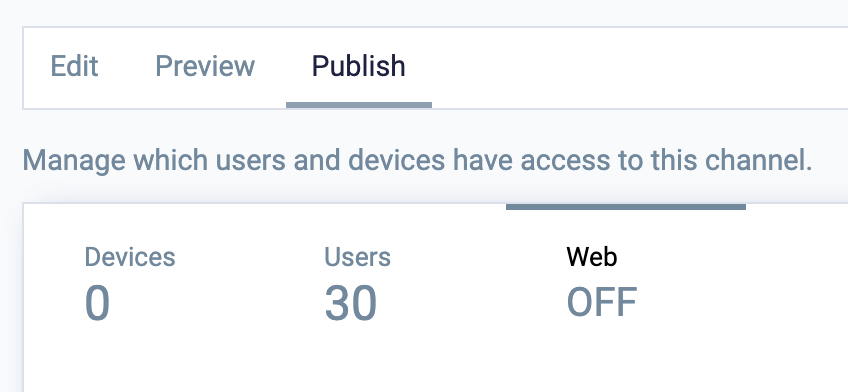
Select the channel that you want to publish

Select a channel that you have access to and click on the Publish tab and the Web sub tab to start the publishing process.

1

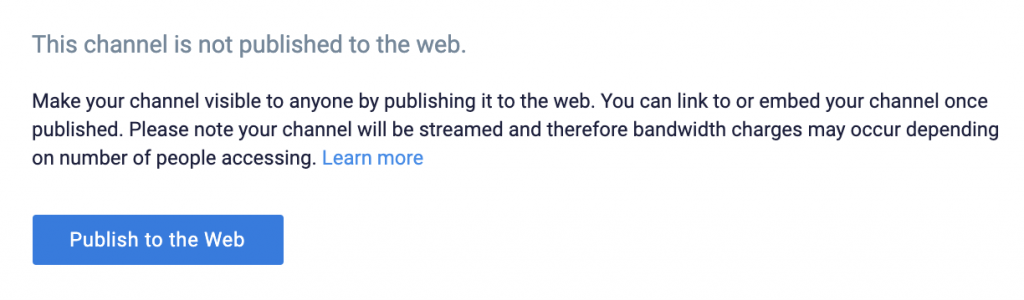
Enable Publish to the Web

Click on the Publish to the Web button to make the channel become available for web publishing. Please note that when a channel is published to the web, the channel will be streamed and therefore bandwidth charges will apply.

2

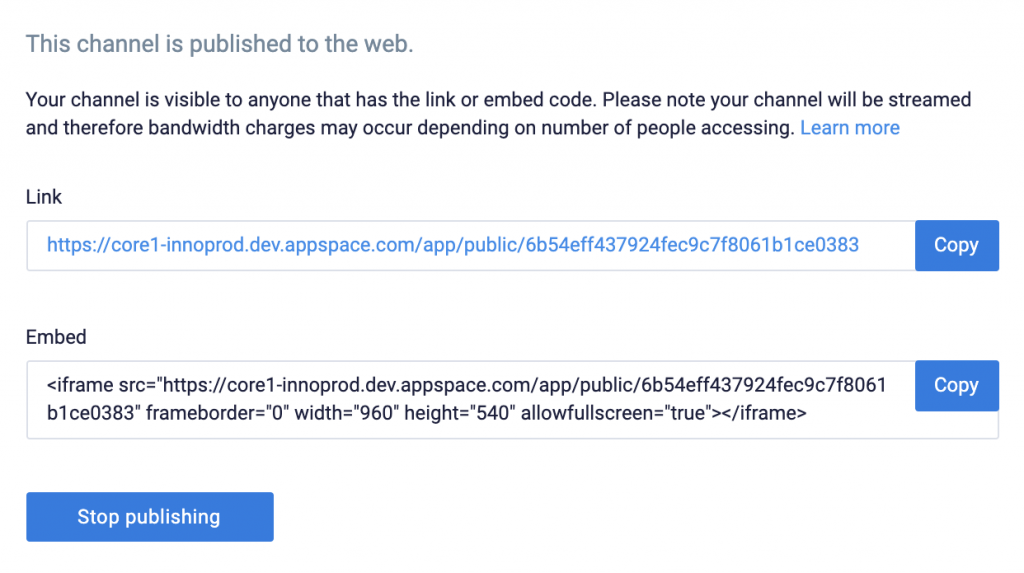
Copy the channel URL

When a channel is first published to the web, it will take a minute or two for the channel content to be initialized. Once initialized, the channel will be publicly viewable through a static URL.

You can use the Link URL to view the channel directly in a browser, or use the Embed URL to display the channel inside a web page.

3

View the channel

Simply copy+paste the Link URL into any browser to view the published channel. You can also enter the Link or Embed URL into your organization’s intranet website or even your own website if you wish to show the published channel there.

However, do note that when the channel is being viewed on the web, bandwidth charges will apply.

4

Unpublish the channel

If you want to stop making the channel available on the web, you can unpublish the channel at any time by simply clicking on the Stop Publishing button.

If you change your mind and want to make it available again, simply click the publish button again to resume.

5

Congratulations!

You have successfully published your channel to the web.

Any updates to the channel are automatically published to the web URL. As the channel is continuously streamed when viewed, the updates will be visible at the point of publishing.

What's Next?

Deepen your knowledge of cards and channels by taking a look at more authoring paths and guides